
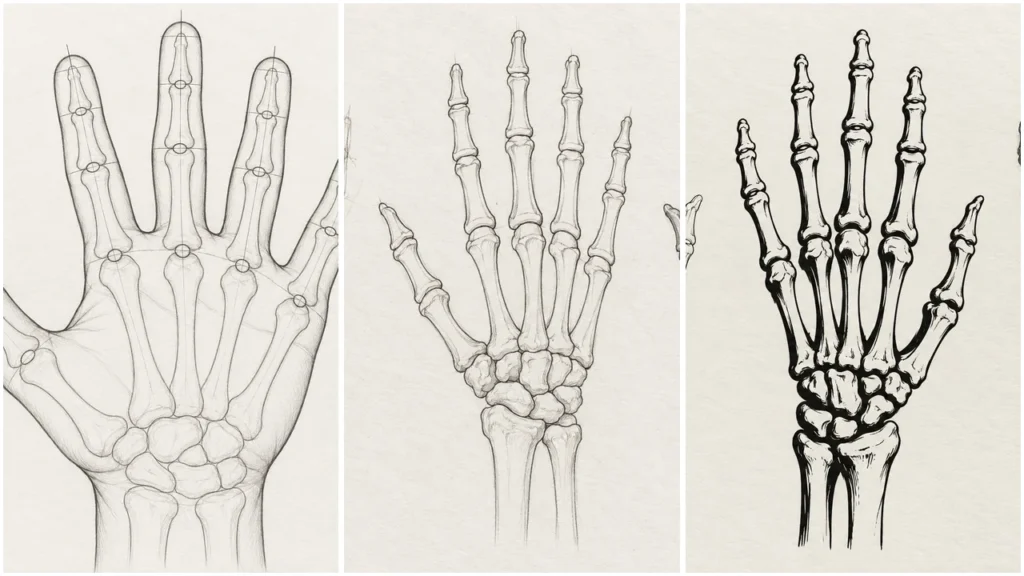
A skeleton hand tattoo drawing helps you explore bone shapes, placement and detail before discussing a design with an artist. First, decide whether you want a separate skeletal hand illustration or bones arranged across the back of your own hand. That choice changes the reference you need, the proportions you sketch and the placement questions you bring to a consultation.
Start on paper with a clear outline and a suitable anatomy reference. The aim is to communicate a design you like, with enough structure for an artist to understand and develop it.
Choose the kind of skeleton hand tattoo drawing you need
A standalone skeletal hand is a complete motif. It might show an open hand, curled fingers or a particular gesture, and its composition can be considered separately from the body area where you want it tattooed.
A design fitted across your own hand has a different starting point. Here, the drawn bones relate to your hand’s outline, finger positions and intended coverage. A generic sketch can communicate the look, but an artist needs to assess its fit.
It also helps to distinguish three kinds of drawing material:
- Reference image: shows anatomy, a pose or a visual treatment you want to study.
- Concept sketch: communicates your proposed composition and preferences, even if some details remain unresolved.
- Tattoo stencil: serves as a transfer guide for tattoo placement. A finished paper drawing is not automatically ready for this role.
If you’re looking for a printable design, check whether it’s offered for that use and whether you have permission to use it. This guide provides a paper-sketch process; it doesn’t include a downloadable stencil.
Map the hand before adding bone details
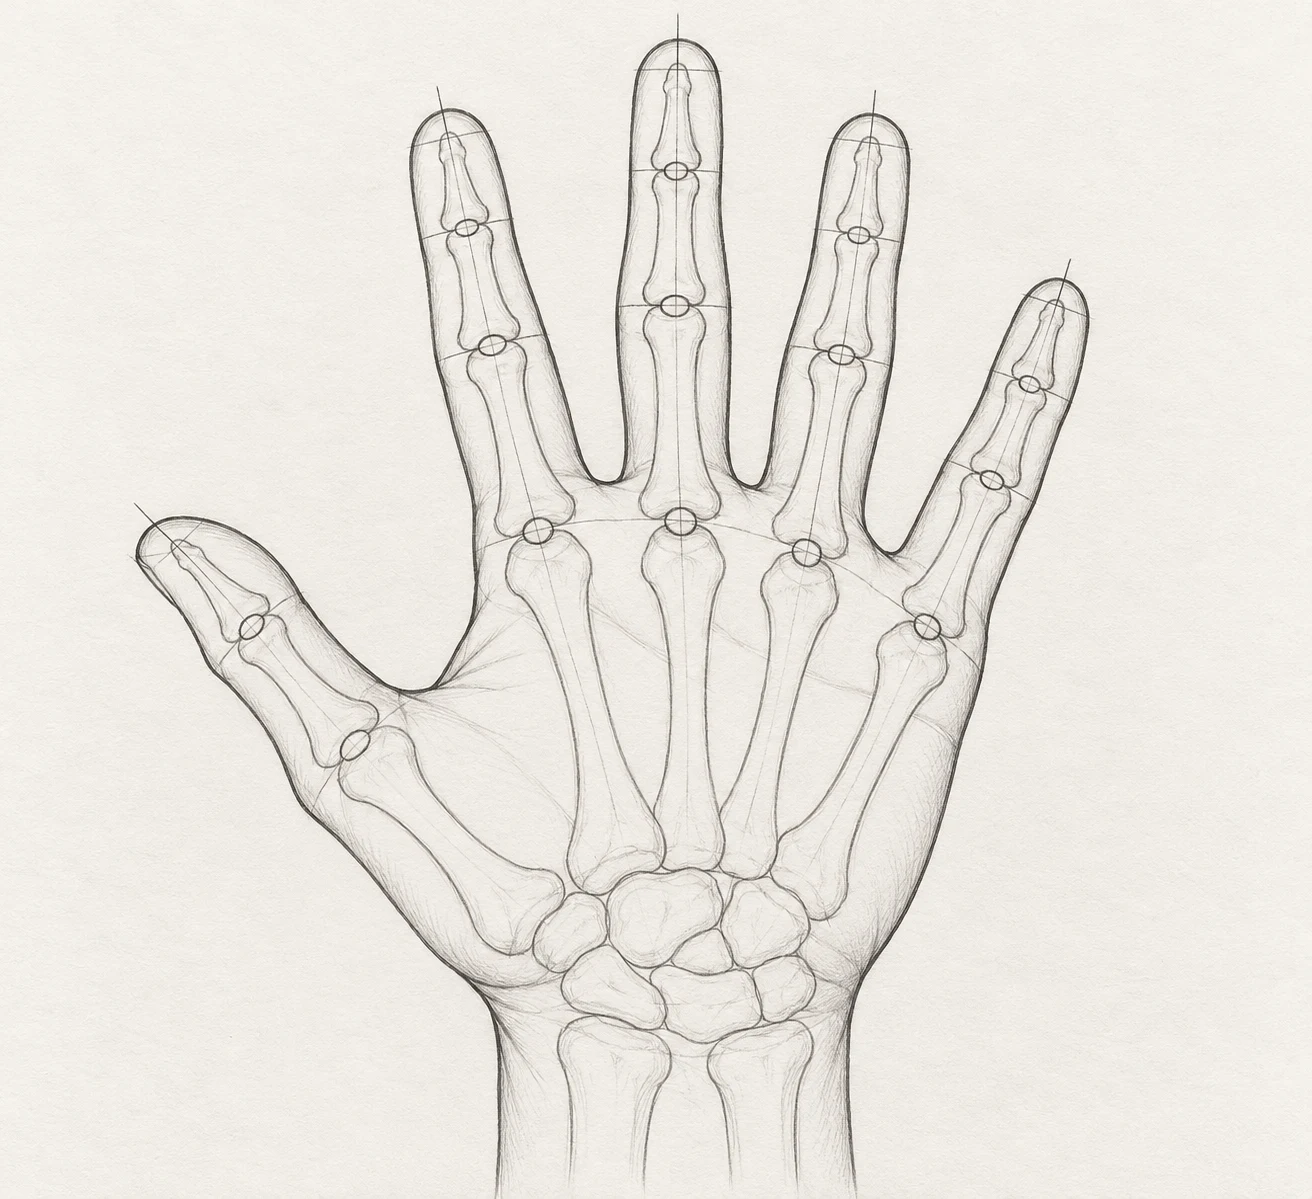
Begin with the overall hand shape. Mark the wrist, the broad area of the hand and the direction of each finger. Use light guide lines so you can adjust the pose without repeatedly redrawing detailed contours.
Place rough markers for the knuckles and changes in finger direction. Give the thumb its own angled guide rather than treating it as another parallel finger. These landmarks help you organize the composition before adding individual bone shapes.
For a design intended to follow your own hand, a photograph or outline of that hand can help establish the outer shape. Use a reliable anatomical reference for the underlying bones: surface creases and visible knuckles alone aren’t a complete map of skeletal structure. Match the reference’s view and pose as closely as possible to your intended drawing.
You can simplify or exaggerate the shapes deliberately. Keep track of which choices come from the reference and which are stylistic, especially if anatomical accuracy matters to you.
Start with the hand’s outline and joint guides before refining the bone shapes.
Build a simple sketch in stages
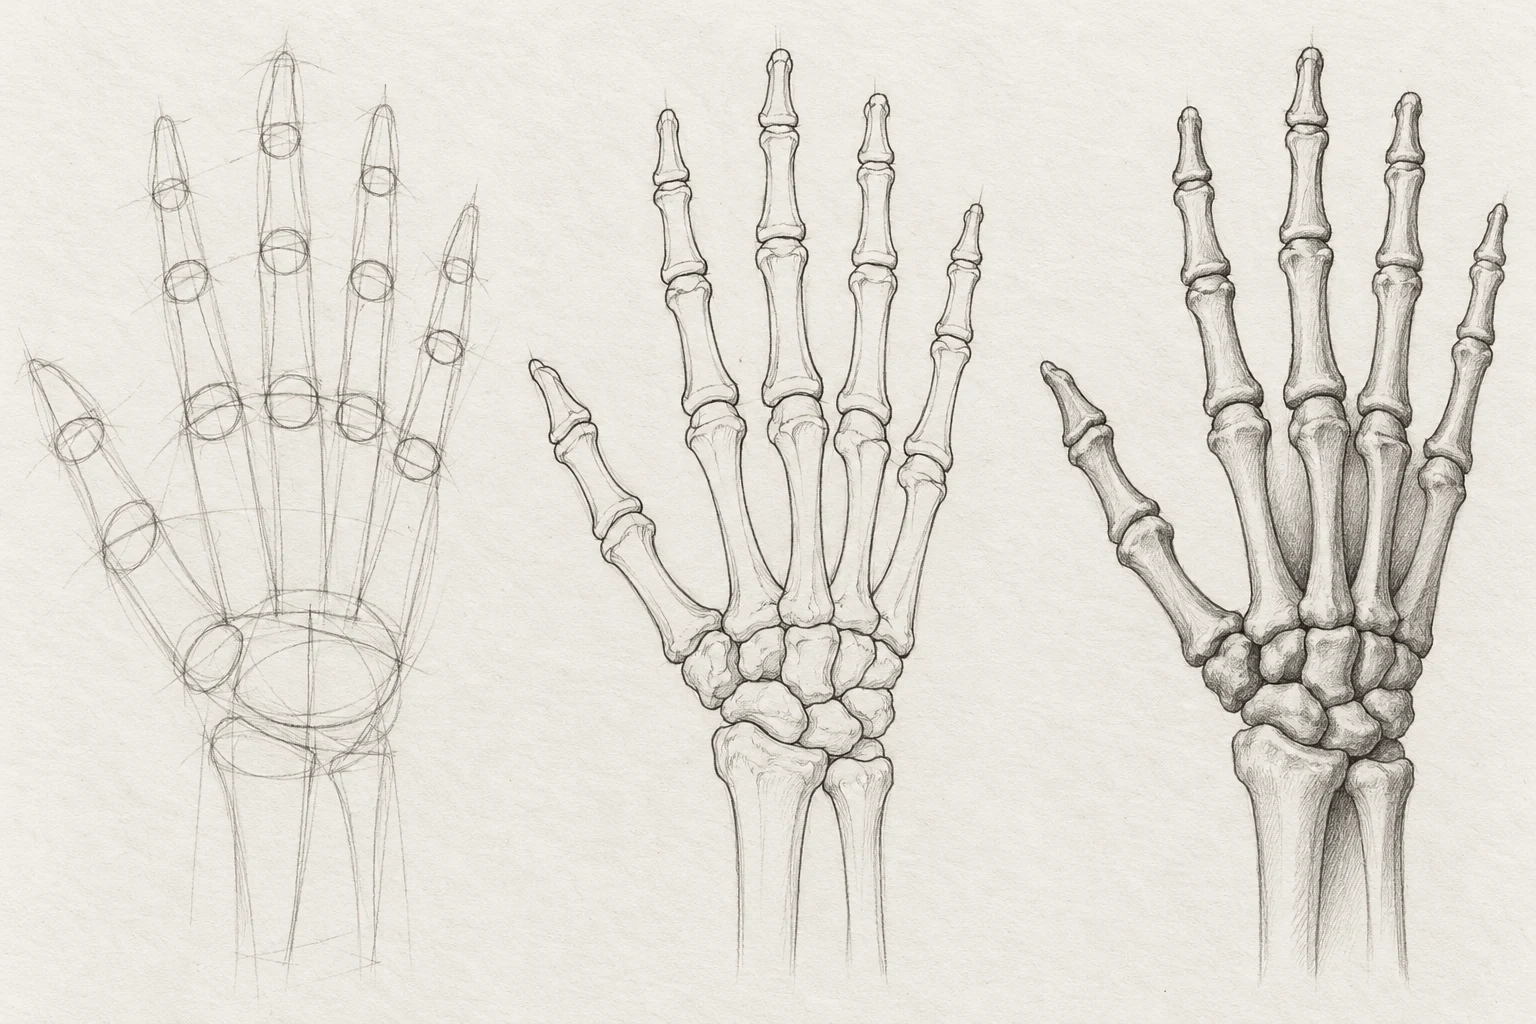
Work from large shapes toward smaller details. This makes corrections easier and gives you a chance to assess the drawing before shading hides the construction lines.
- Establish the silhouette. Sketch the wrist, hand outline and finger positions lightly. Check whether the pose reads clearly at a glance.
- Block in the bone shapes. Use simple elongated forms for the main lengths and broader shapes where your reference shows joint ends. Keep these marks loose.
- Check proportions and spacing. Compare finger lengths, thumb angle and the relationship between the fingers and the hand. Look at the empty spaces as well as the bones themselves.
- Refine the contours. Replace rough construction marks with deliberate outlines. Follow your reference where accuracy matters, and simplify details that distract from the overall shape.
- Add selective shading. Choose a consistent direction for the shading. Use darker areas to help separate overlapping forms or describe rounded surfaces, leaving enough clear space to distinguish adjacent shapes.
Before adding more detail, view the sketch at its intended approximate size. If the fingers merge into a confusing pattern, revisit their outlines and spacing. More shading won’t necessarily resolve an unclear structure.
Develop the same pose from loose guides into clean contours, then add a few shaded areas.
Choose detail and contrast that suit the concept
Try different treatments on copies of the same sketch. Keeping the pose consistent makes it easier to see which style you prefer.
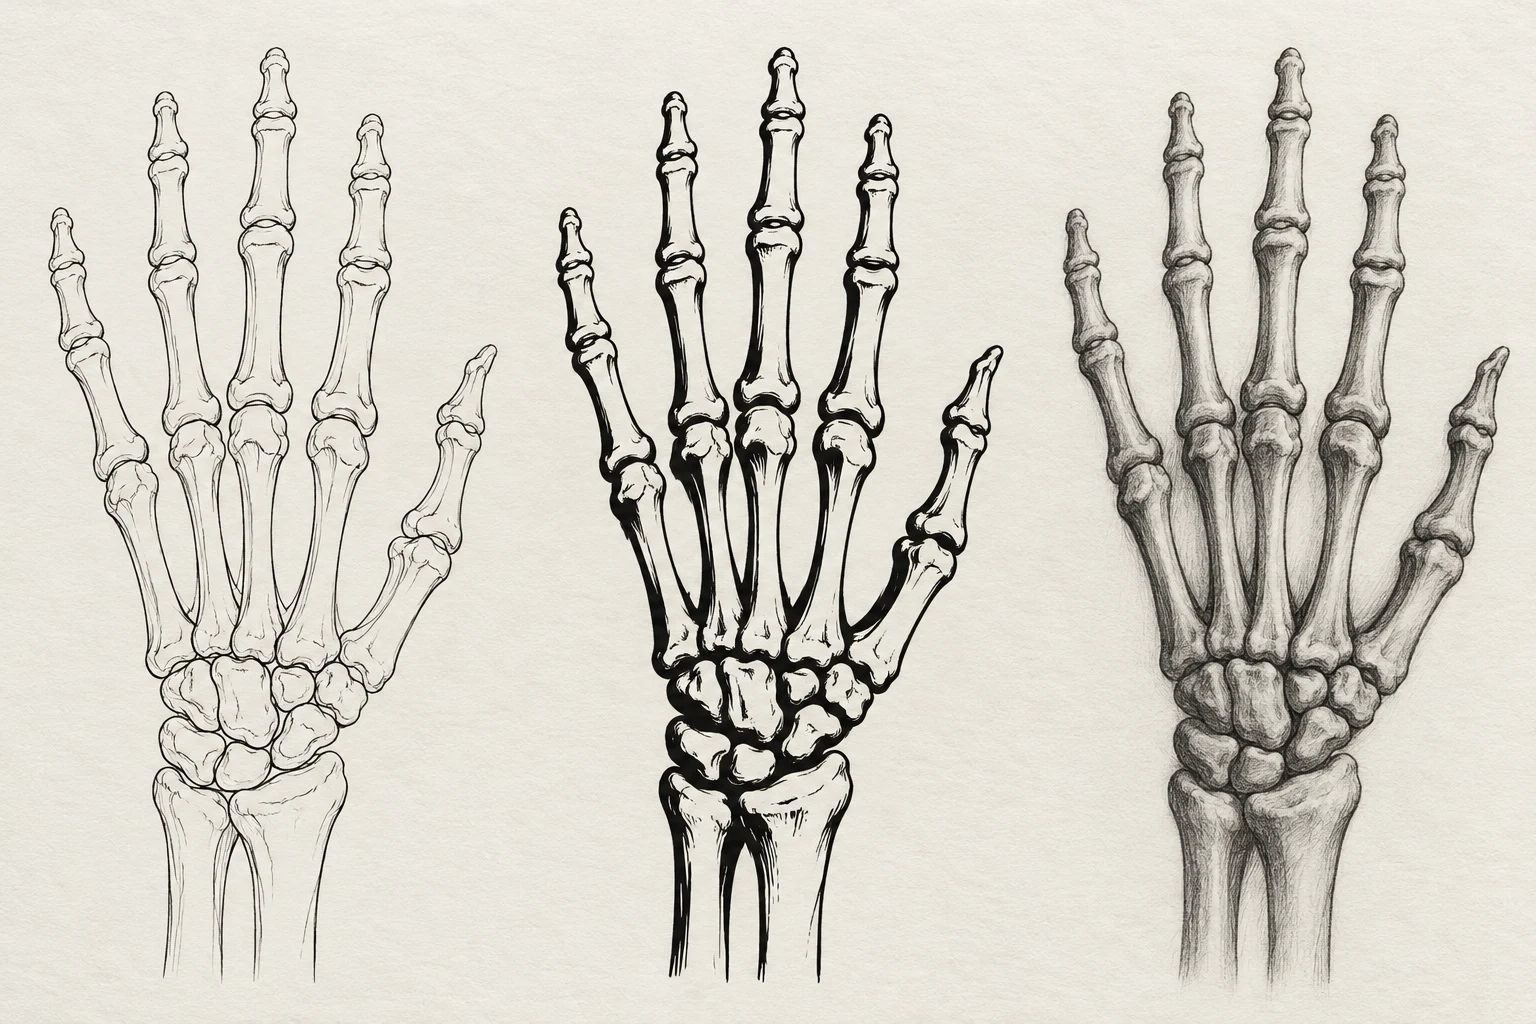
Simple outlines emphasize the shape of each bone and the spaces between them. Focus on recognizable contours before adding small surface details.
Bold graphic shapes use stronger outlines or larger dark areas to create a more pronounced pattern. Check that the dark shapes still leave the fingers and joints easy to follow.
Shaded studies use changes in tone to suggest volume. Build the shading gradually so you can judge whether it clarifies a form or makes neighboring shapes blend together.
If the drawing feels crowded, remove minor marks first. You might reduce texture, lighten a shadow or simplify a joint contour while preserving the pose’s character. Keep an earlier version so you can compare the effect.
These are ways to assess a drawing on paper. Ask your artist which line weights, gaps and details they recommend for the proposed tattoo size and placement.
Compare outline, graphic and shaded treatments using the same skeletal hand pose.
Check placement and prepare your artist reference
Label your sketch with the intended placement and orientation. For a design spanning your hand and fingers, note:
- Whether it’s for the left or right hand.
- Which view of the hand the sketch represents.
- How far the design should extend toward the wrist and fingertips.
- Which details and stylistic choices matter most to you.
Show the artist how you want the design to look when your hand is relaxed. Ask them to assess alignment, scale and spacing, including how the composition changes as your fingers bend or spread. Leave room for them to adapt your drawing to the placement.
Bring a small selection of references and explain what you like in each: the pose, bone contours, shading or overall coverage. For broader visual comparisons, explore these skeleton hand tattoo ideas. The hand tattoos guide offers additional placement context.
Your next step is a clear paper sketch with a few useful notes. Choose the drawing type, establish the structure and identify the decisions you want an artist to assess.
For more detail, see skeleton hand tattoo meaning.

