
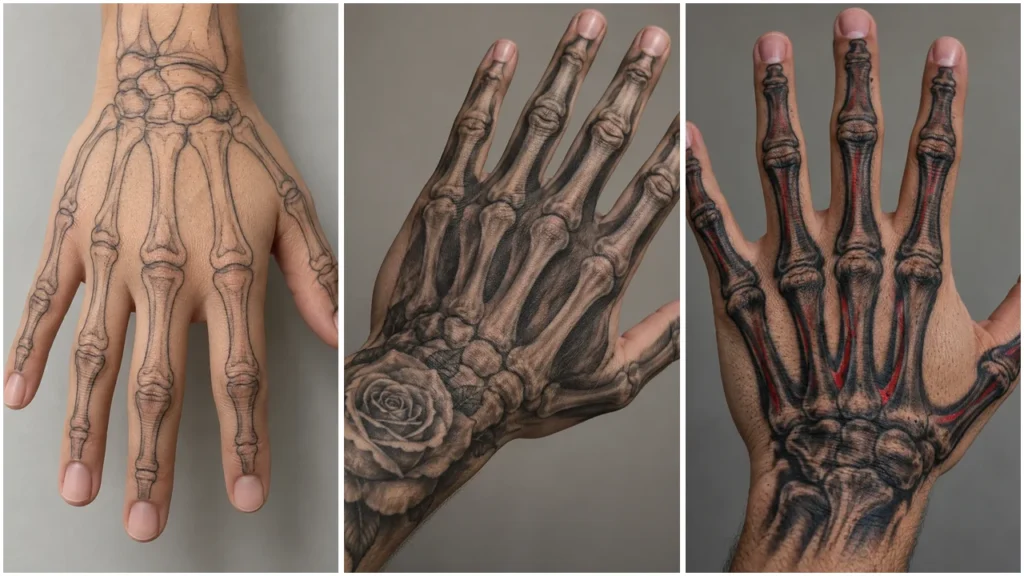
A skeleton hand tattoo can look delicate, dimensional or boldly graphic depending on its outlines, shading and use of open skin. These twenty design concepts compare those choices, along with floral details, architectural framing and red accents, to help you choose a direction to discuss with an artist.
Start with the overall effect: do you want the bones to follow your hand closely, stand out as simplified shapes or form part of a decorative composition? Then compare how much of the fingers, central hand and wrist each idea covers.
1. Fine-Line Skeleton Hand Tattoo
Delicate bone outlines leave open skin between each shape.
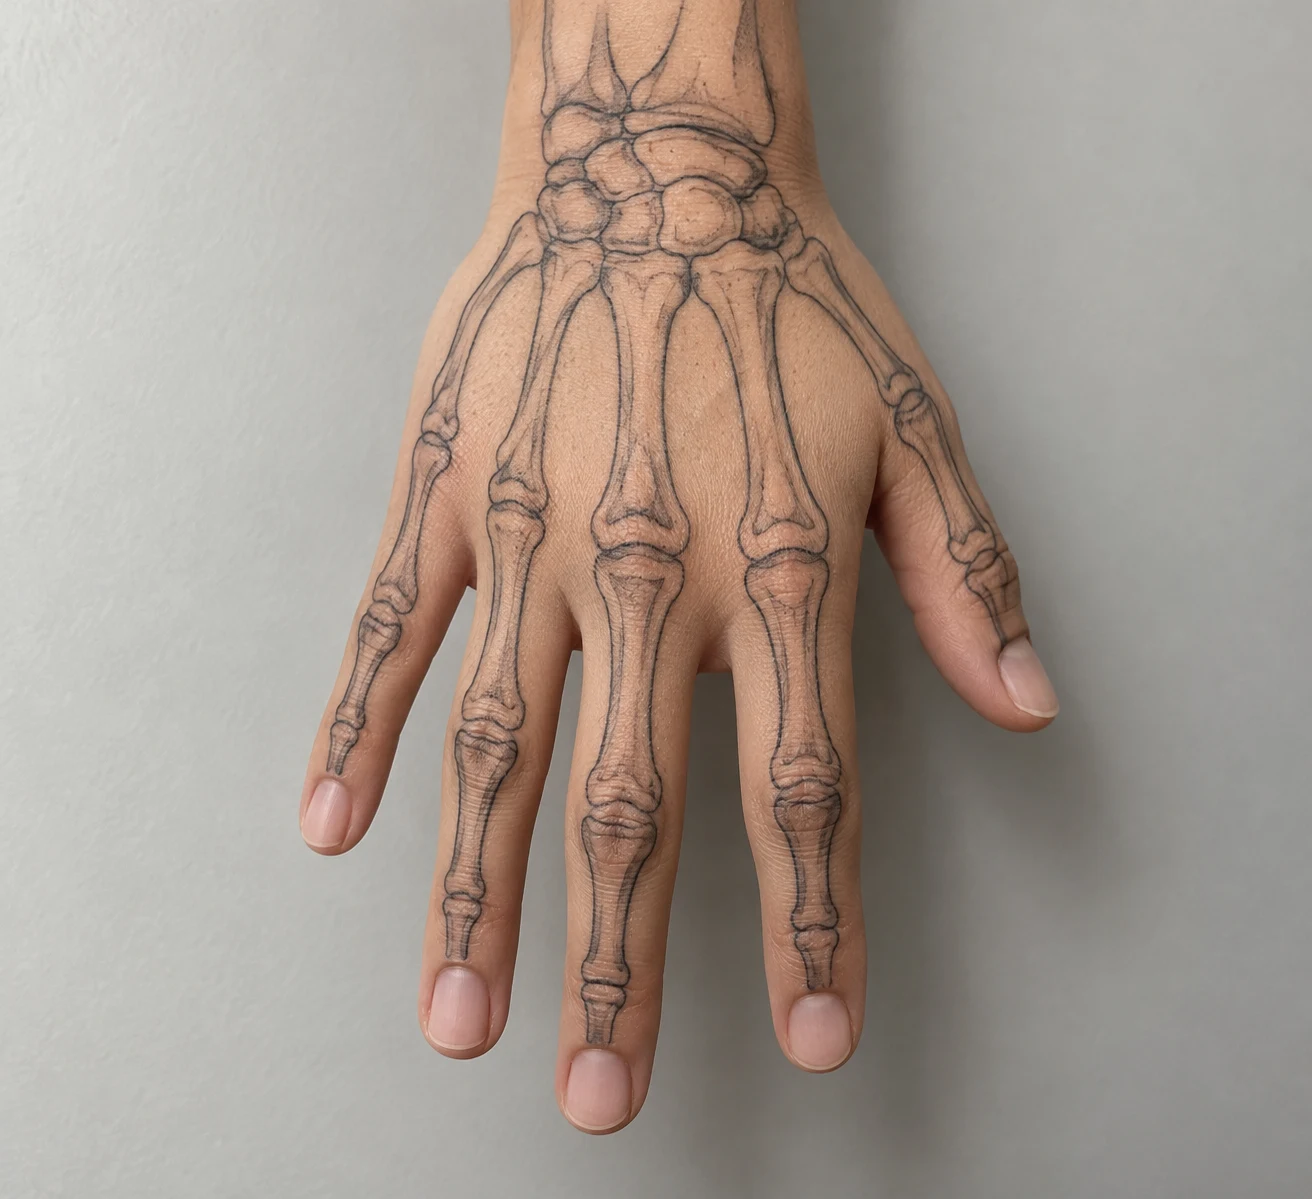
Thin contours give this design a light, spare appearance. The bones remain mostly unshaded, with their shape defined by narrow outlines rather than dark interiors. Small gaps at the joints help separate the segments without adding much visual weight.
Choose this direction if you like the skeletal pattern but want plenty of skin visible through it. Decide whether you prefer outlines alone or a few shaded details around the joints. Bring that preference to your artist and ask how much spacing and detail suit the available area; a finely drawn reference still needs a layout tailored to your hand.
2. Black-and-Grey Anatomical Bones
Soft grey shading gives the bones rounded edges and more dimension.
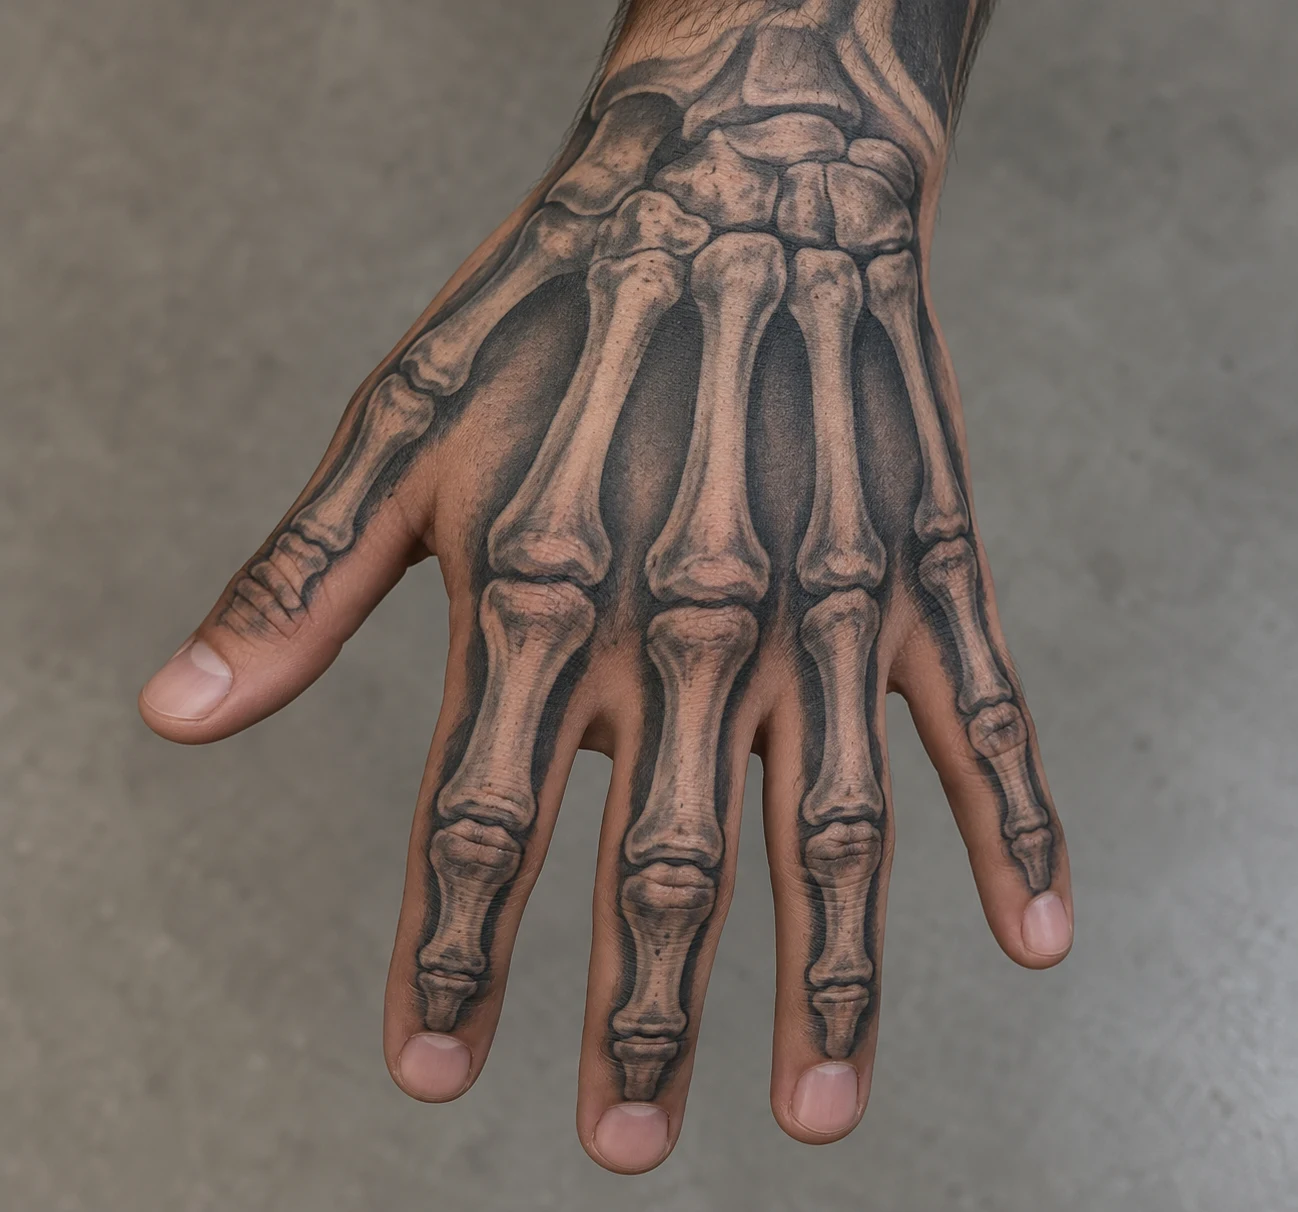
This approach uses graduated grey tones to suggest curved bone surfaces. Darker areas around the joints contrast with lighter centers, creating a more dimensional effect than simple outlines. A connected arrangement carries the design from the central hand toward the fingertips.
The main choice is how much contrast you want. Soft shading produces a gentler transition; darker joint details make the separate segments more pronounced. Discuss how the arrangement should follow your hand, including the thumb. Treat the concept as an artistic interpretation rather than an exact anatomical diagram.
3. Bold Blackwork Skeleton Bones
Thick contours and solid black sections create a graphic skeletal pattern.
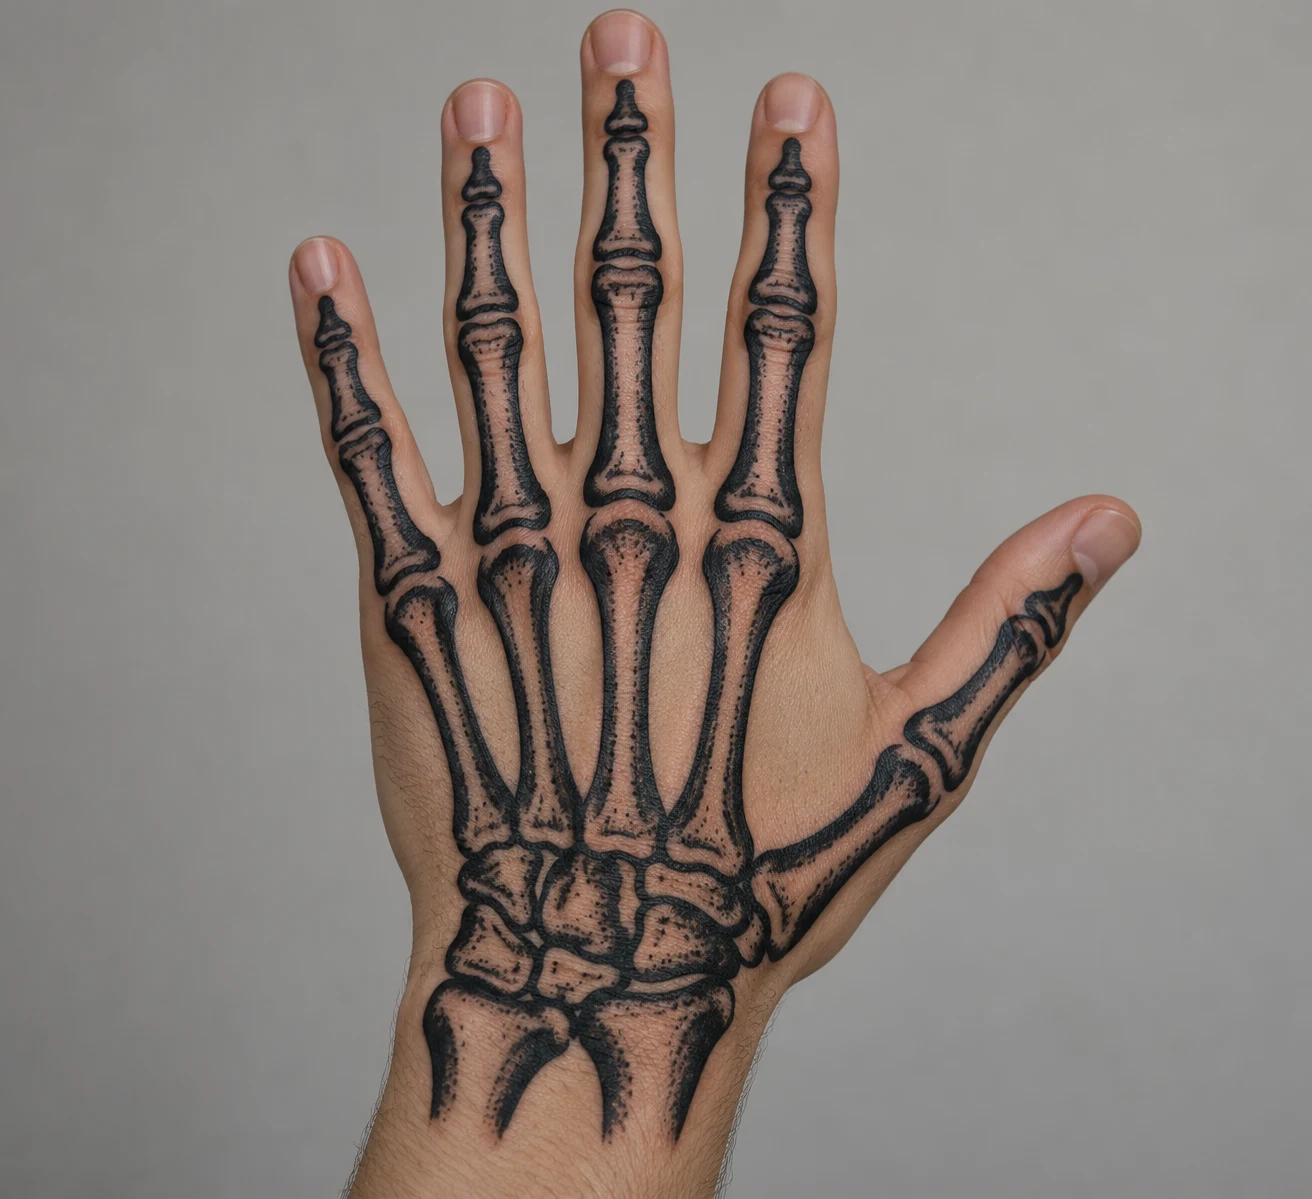
Heavy outlines make the bone shapes the main event. Selected sections inside them can be filled with solid black, while simplified joints keep the arrangement from becoming overly intricate. There’s little need for the gradual shading used in the previous idea.
Compare an outline-heavy version with one that places more black inside each bone. Both can feel bold, but the balance of ink and open skin changes substantially. Ask your artist which contours deserve emphasis and which tiny details could be removed. The goal is a deliberate set of shapes with clear separation between neighboring bones.
4. Negative-Space Skeleton Hand Tattoo
Uninked bone silhouettes stand out within surrounding black ink.
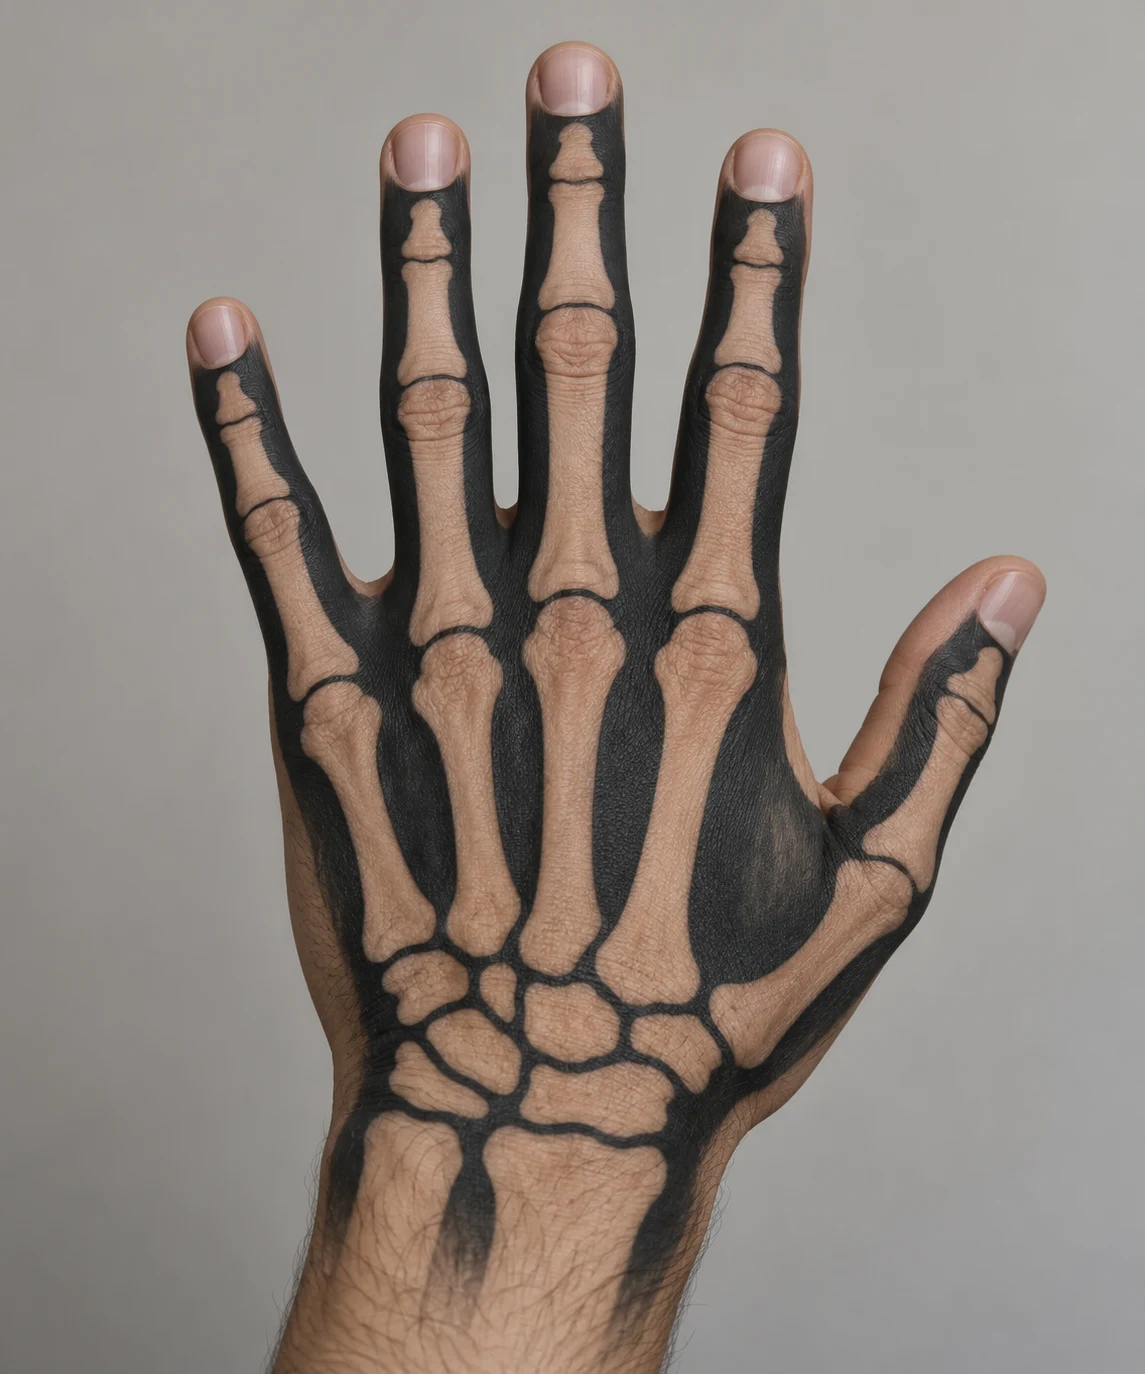
Here, the bone shapes are reserved areas of skin, with black ink placed around them. Those lighter areas represent your skin tone, not white ink. This reverses the relationship used in an outlined design and gives the surrounding dark shapes a larger role.
Consider whether you want black coverage around the full arrangement or only selected sections. A broader dark field creates a different composition from narrow bands beside individual bones. Have the artist map both the inked areas and the skin left open so you can judge the whole pattern, including its edges near the wrist and fingers.
5. Skeleton Bones with Roses
A rose near the wrist adds a floral focal point beside the bones.
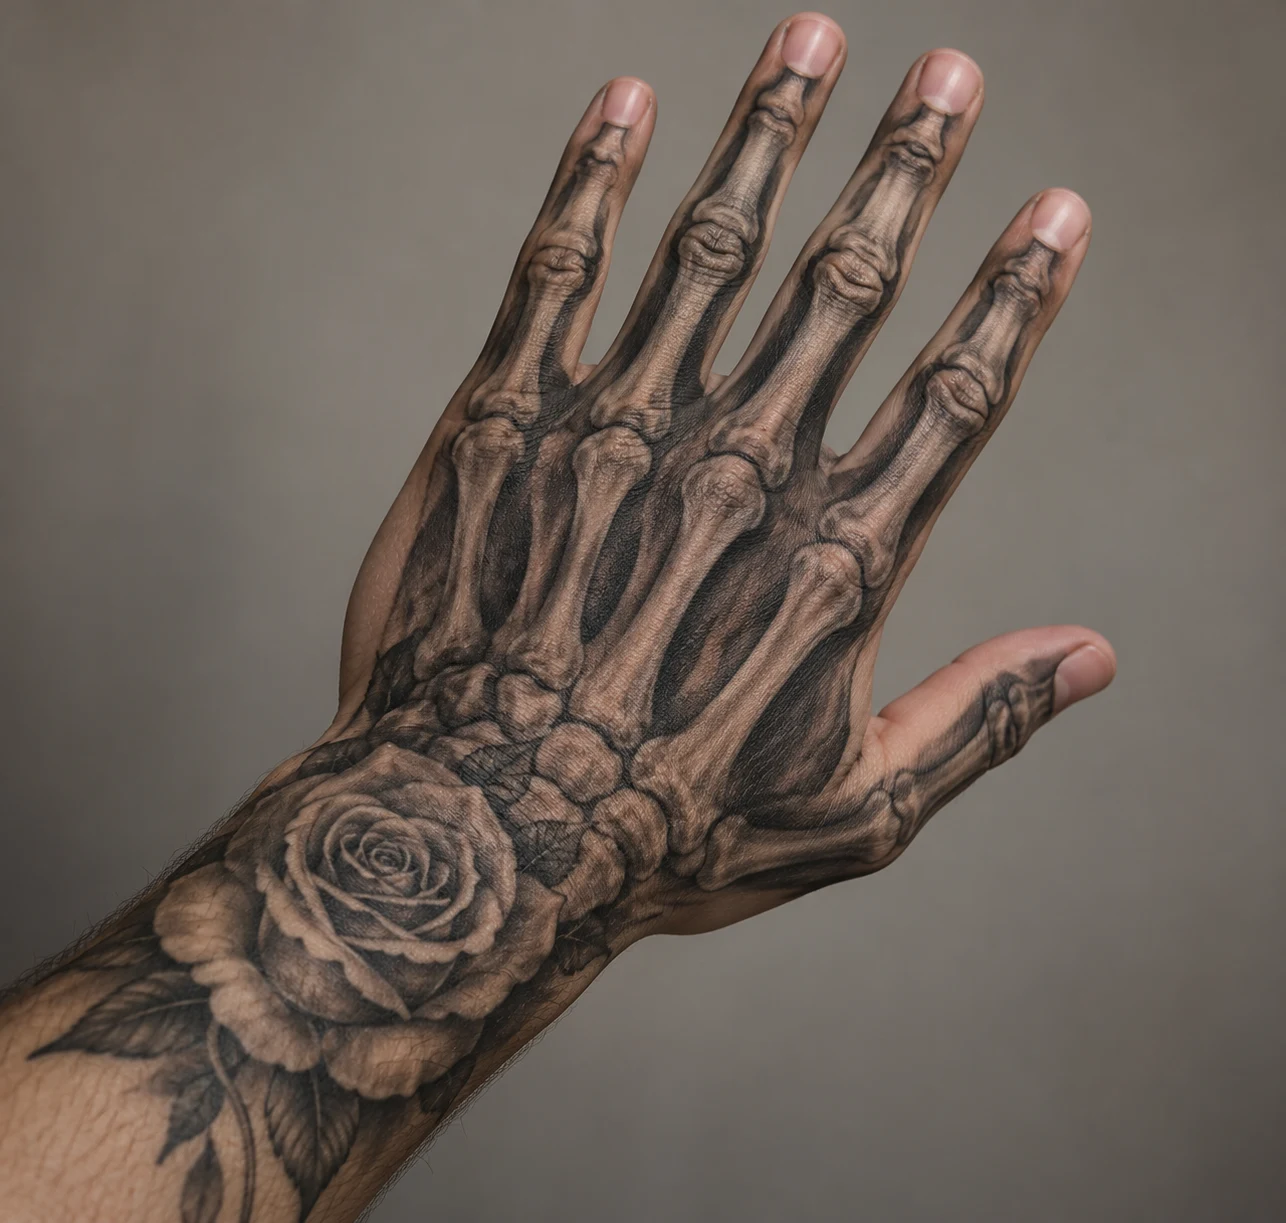
A rose can sit near the wrist, with a short stem weaving beside the central bones. Rounded petals introduce a softer shape into the otherwise segmented arrangement. Keeping the flower low on the hand leaves more room for the finger bones to remain visible.
The flower’s role should guide its size. A large bloom can lead the composition, while a smaller rose acts as an accent. Also consider overlap: petals crossing several bones produce a more layered design, while a separate bloom keeps each element easier to distinguish. Any personal meaning is yours to define.
6. Gothic Skeleton Bones with Pointed Arches
Pointed arches frame the central bones with restrained ornament.
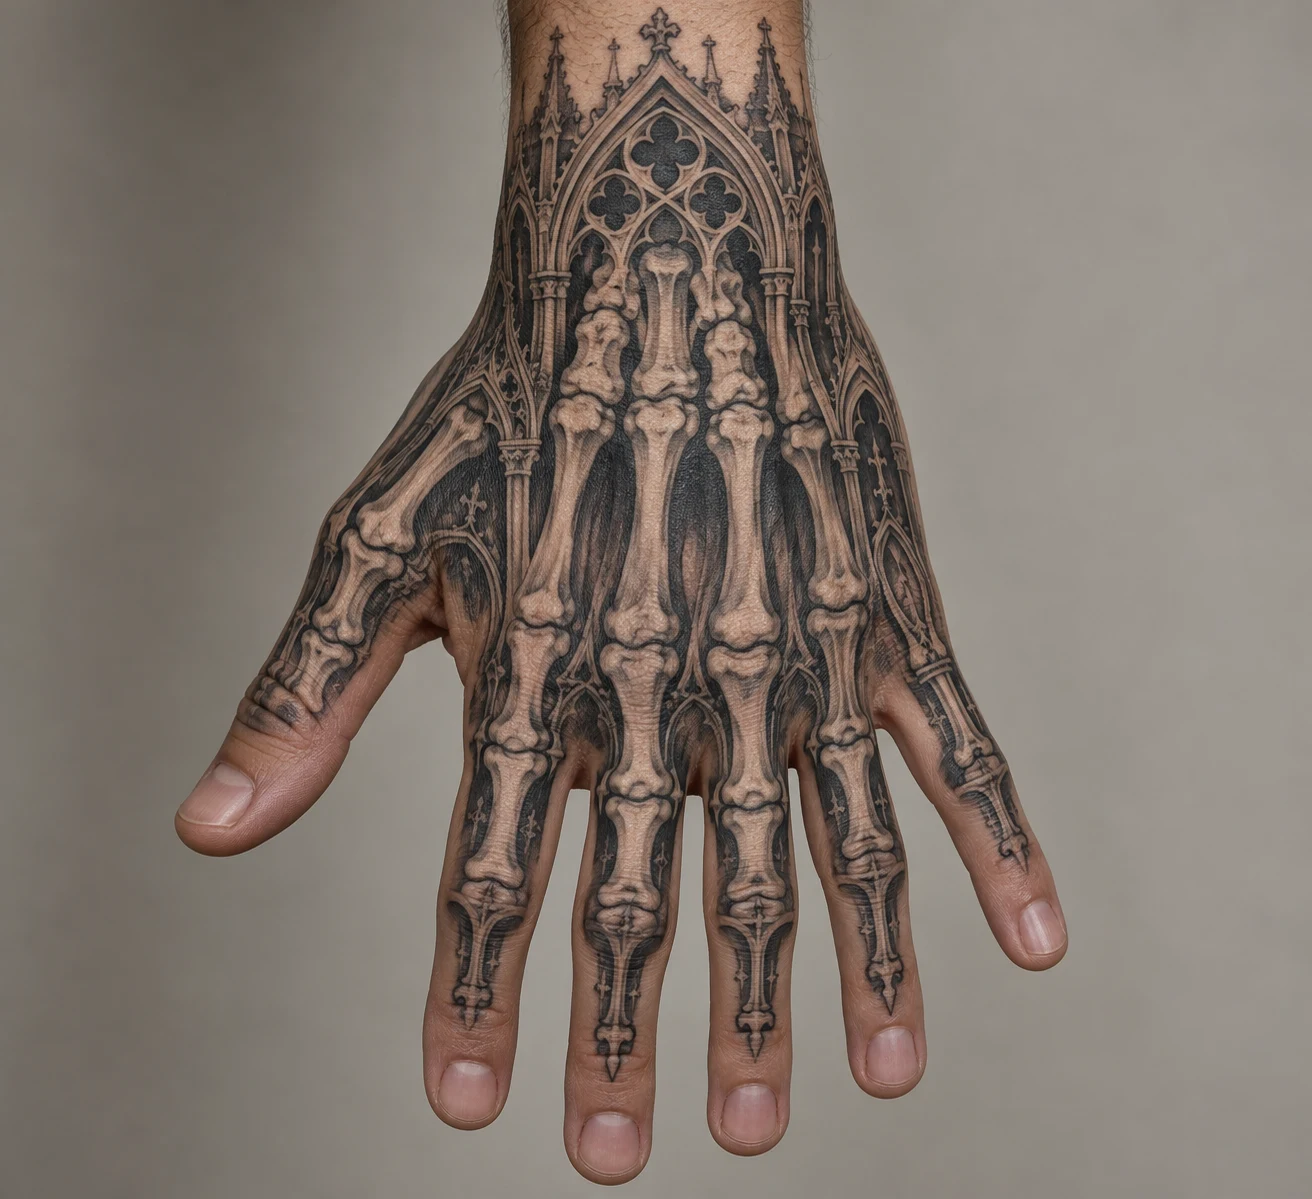
This concept brings an architectural frame into the skeletal layout. One pointed arch can surround the central bones, with a small amount of ornament near the wrist. The Gothic character comes from the pointed forms; the design doesn’t need an assigned religious meaning.
A single arch gives the composition a clear center. A narrower ornamental border adds detail around its edges. Decide how prominent you want that frame to be, then check where it intersects the bones. Leaving space between the two elements helps preserve both the skeletal pattern and the pointed silhouette.
7. Small Finger-Bone Accents
Short bone segments decorate selected fingers while the central hand stays open.
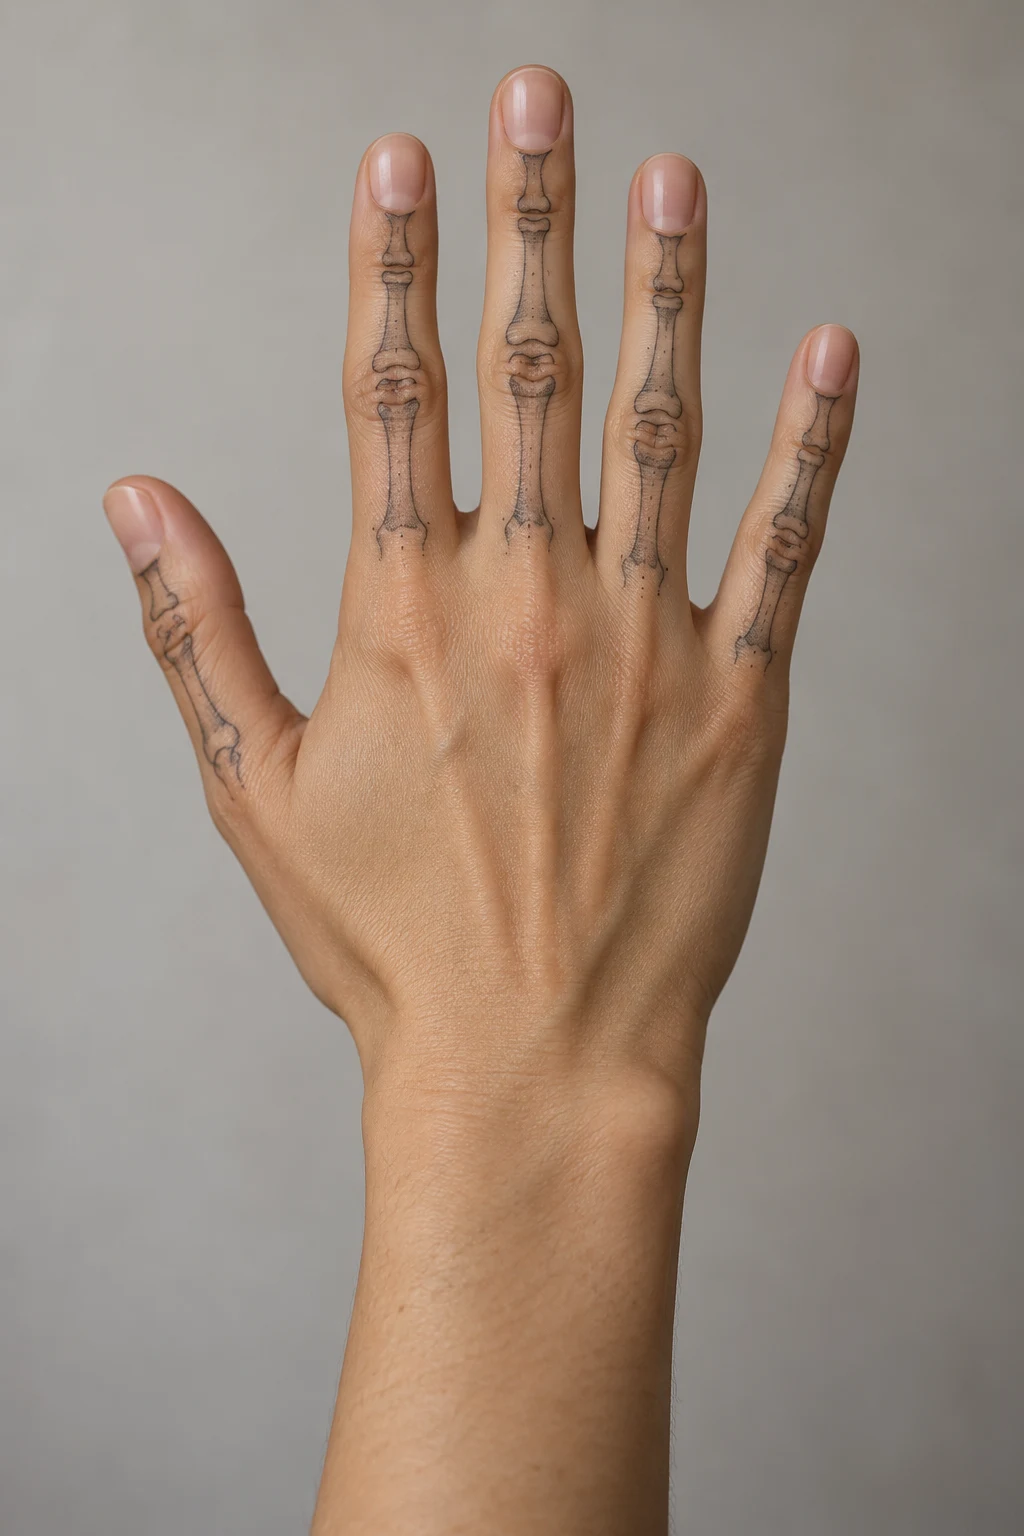
It’s a partial composition rather than a miniature version of a full skeletal hand. Short outlines sit on selected fingers, with the central back of the hand left uninked. You can compare isolated segments with a connected sequence along each chosen finger.
Start by choosing the fingers you want included. Then consider whether matching segments or slightly different lengths create the arrangement you prefer. If the finger bones are your favorite part of the motif, this layout lets you focus on them while keeping the rest of the hand open.
8. Red-Accent Skeleton Bones
Narrow red strokes sit beside selected black bone outlines.
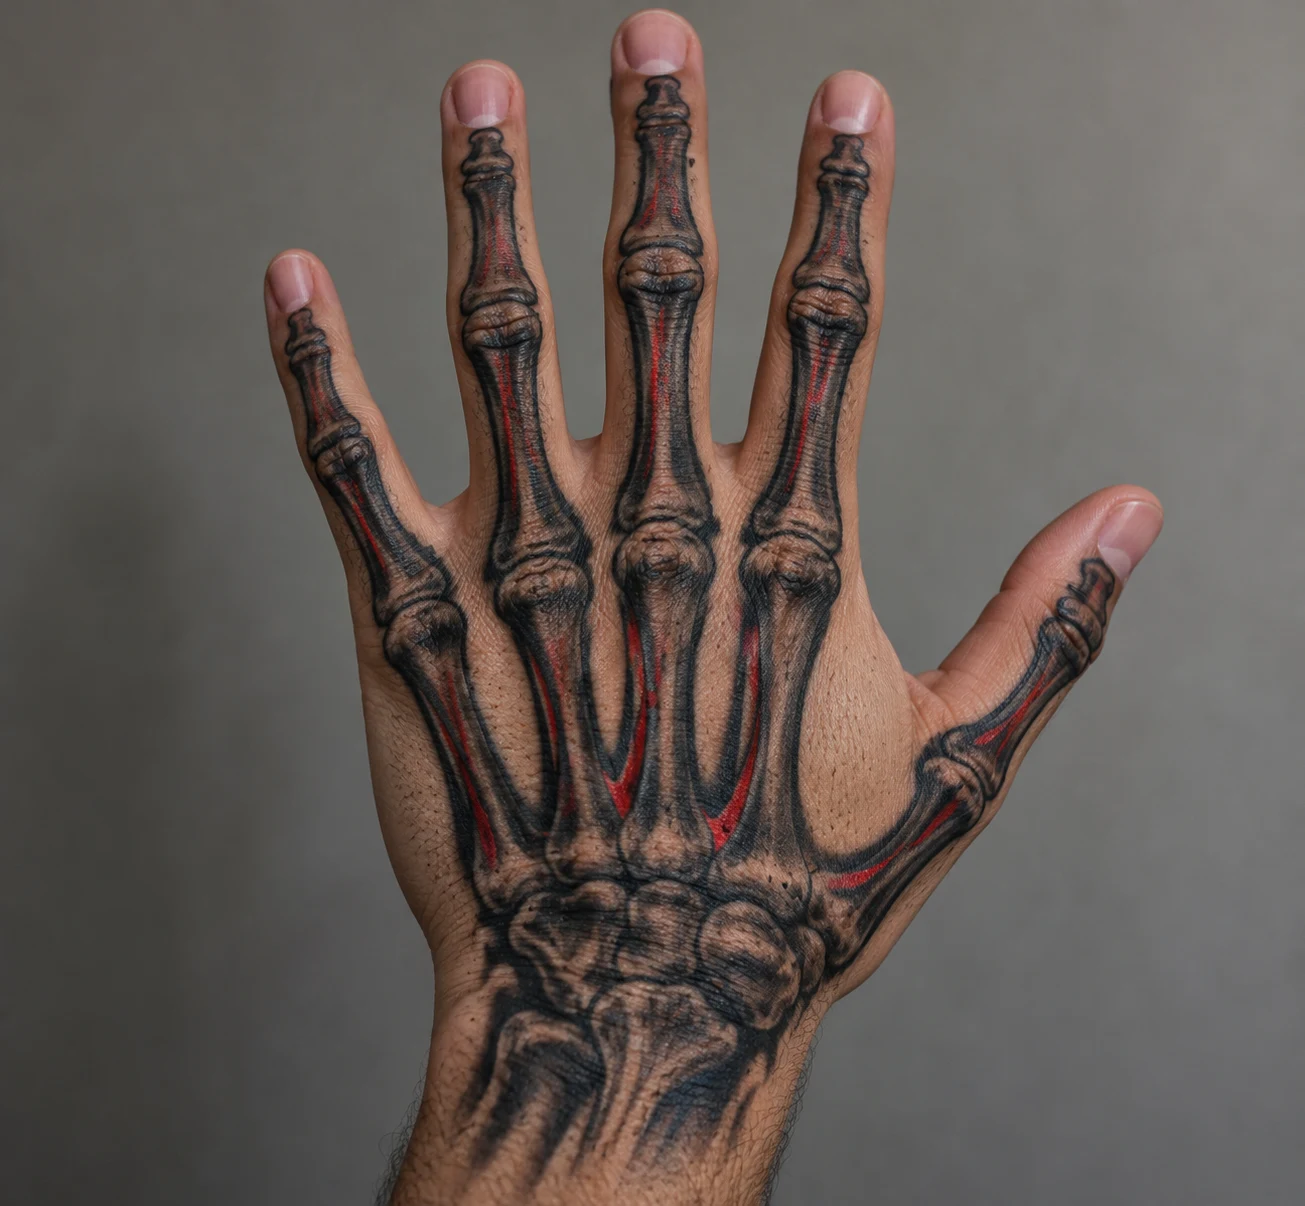
Black contours establish the bones, while a few offset red strokes add color beside their edges. Red near selected joints gives a restrained accent; longer strokes along several bones create a stronger two-color composition.
Think about where the color should draw attention instead of adding it everywhere by default. You might emphasize the central hand or repeat small accents across the fingers. Keep the underlying bone shapes easy to distinguish, and discuss the red areas as part of the complete drawing rather than a finishing detail.
9. Dotwork Skeleton Hand Tattoo
Tiny dots build up the shading inside each bone, leaving lighter patches between denser areas. The texture gives you something different from smooth grey gradients without adding another motif. Keep the outer contours simple if you want the stippling to be the main detail. Compare a lightly dotted version with darker clusters around the joints before choosing your reference.
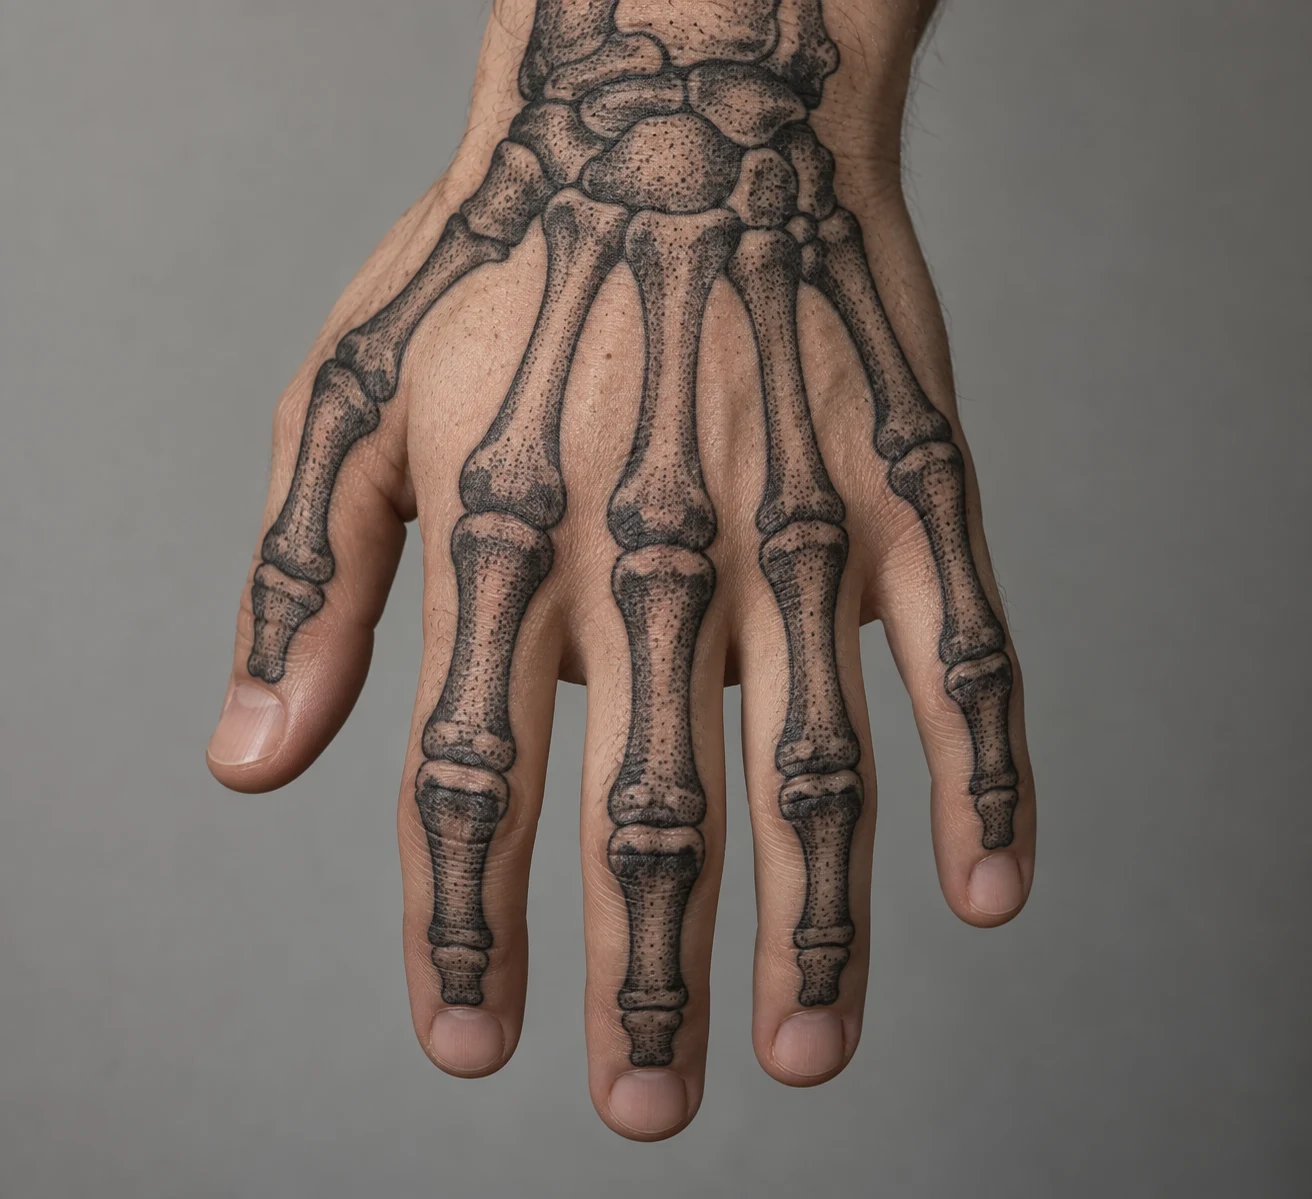
10. Engraved Skeleton Bones
Short parallel lines shade these bones like an engraved illustration. A few crossing strokes can deepen selected areas, while broad open strips keep the hatching visible. Choose hatching if you’d rather see individual strokes than soft shading. Ask your artist to simplify the line pattern where the available space gets narrow.
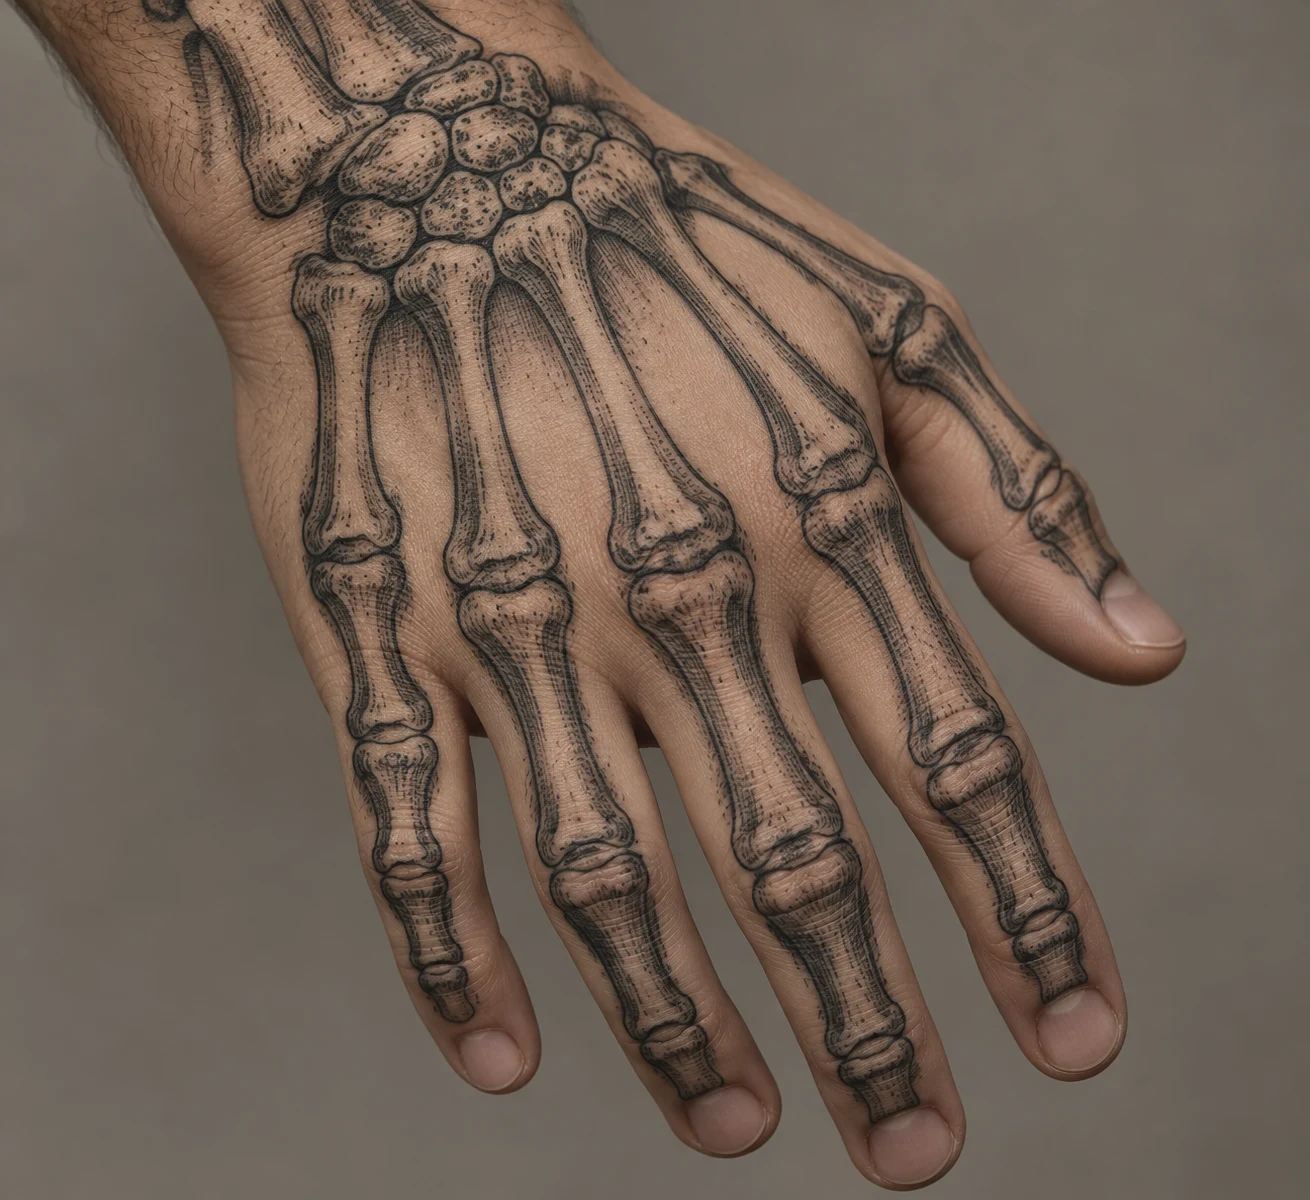
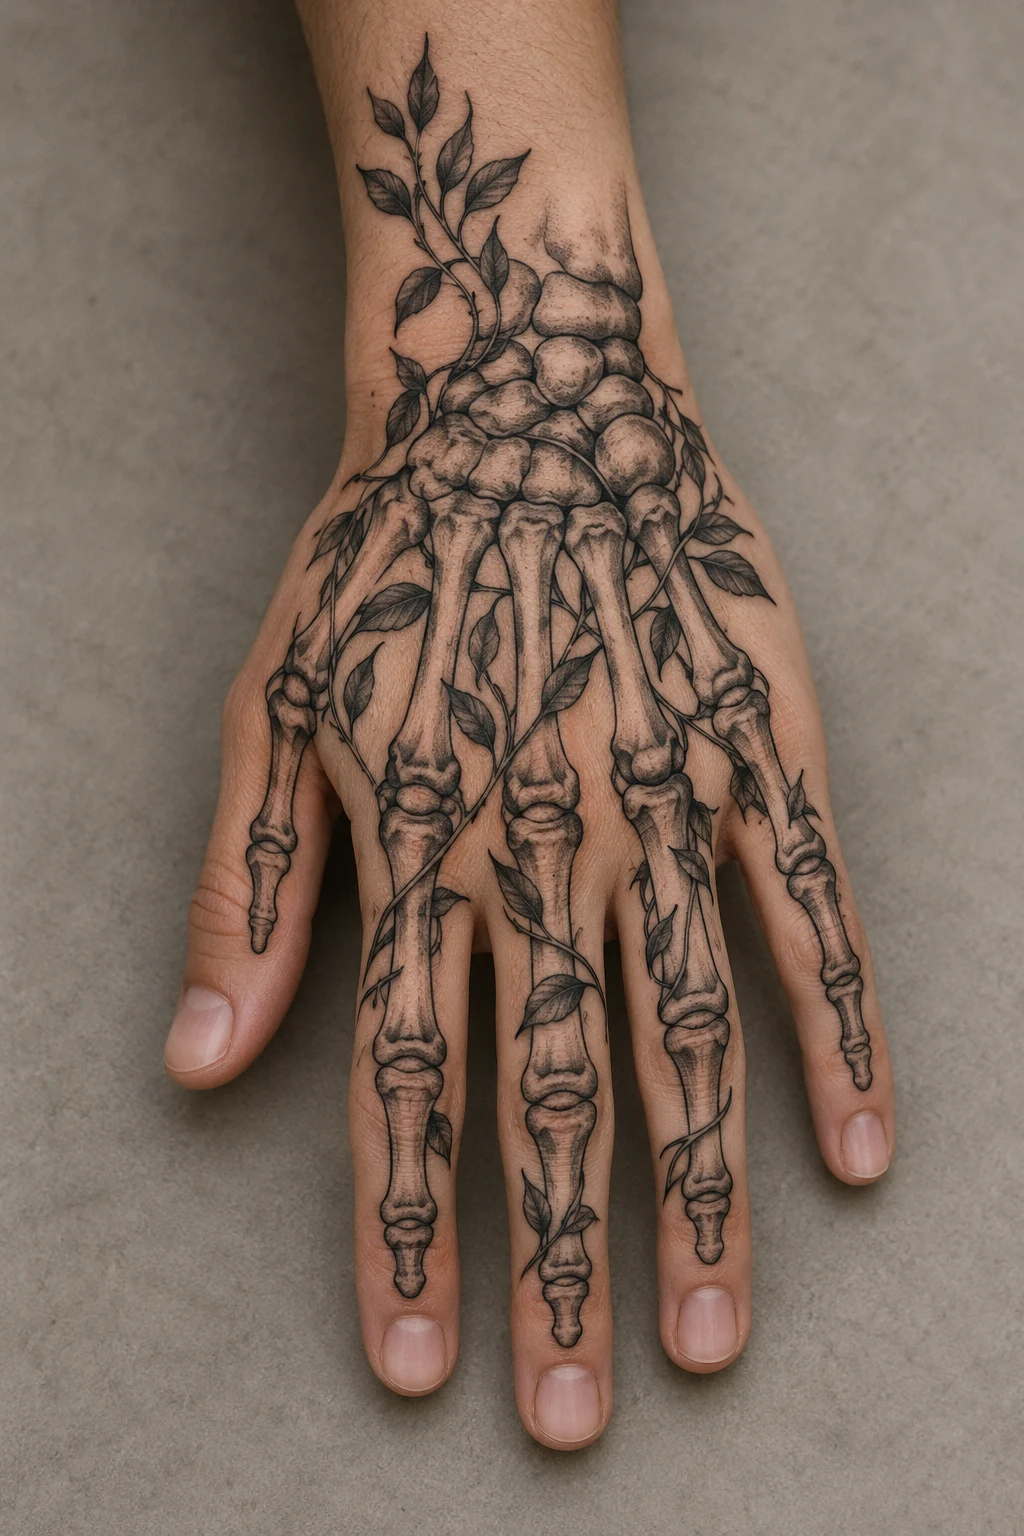
11. Skeleton Bones Wrapped in Vines
A thin vine winds through the gaps between the bones, with small leaves turning toward the fingers. Unlike a single rose at the wrist, the greenery travels through the whole composition. Decide where the vine crosses a bone and where it passes beside one; too many overlaps can make the layout difficult to read.
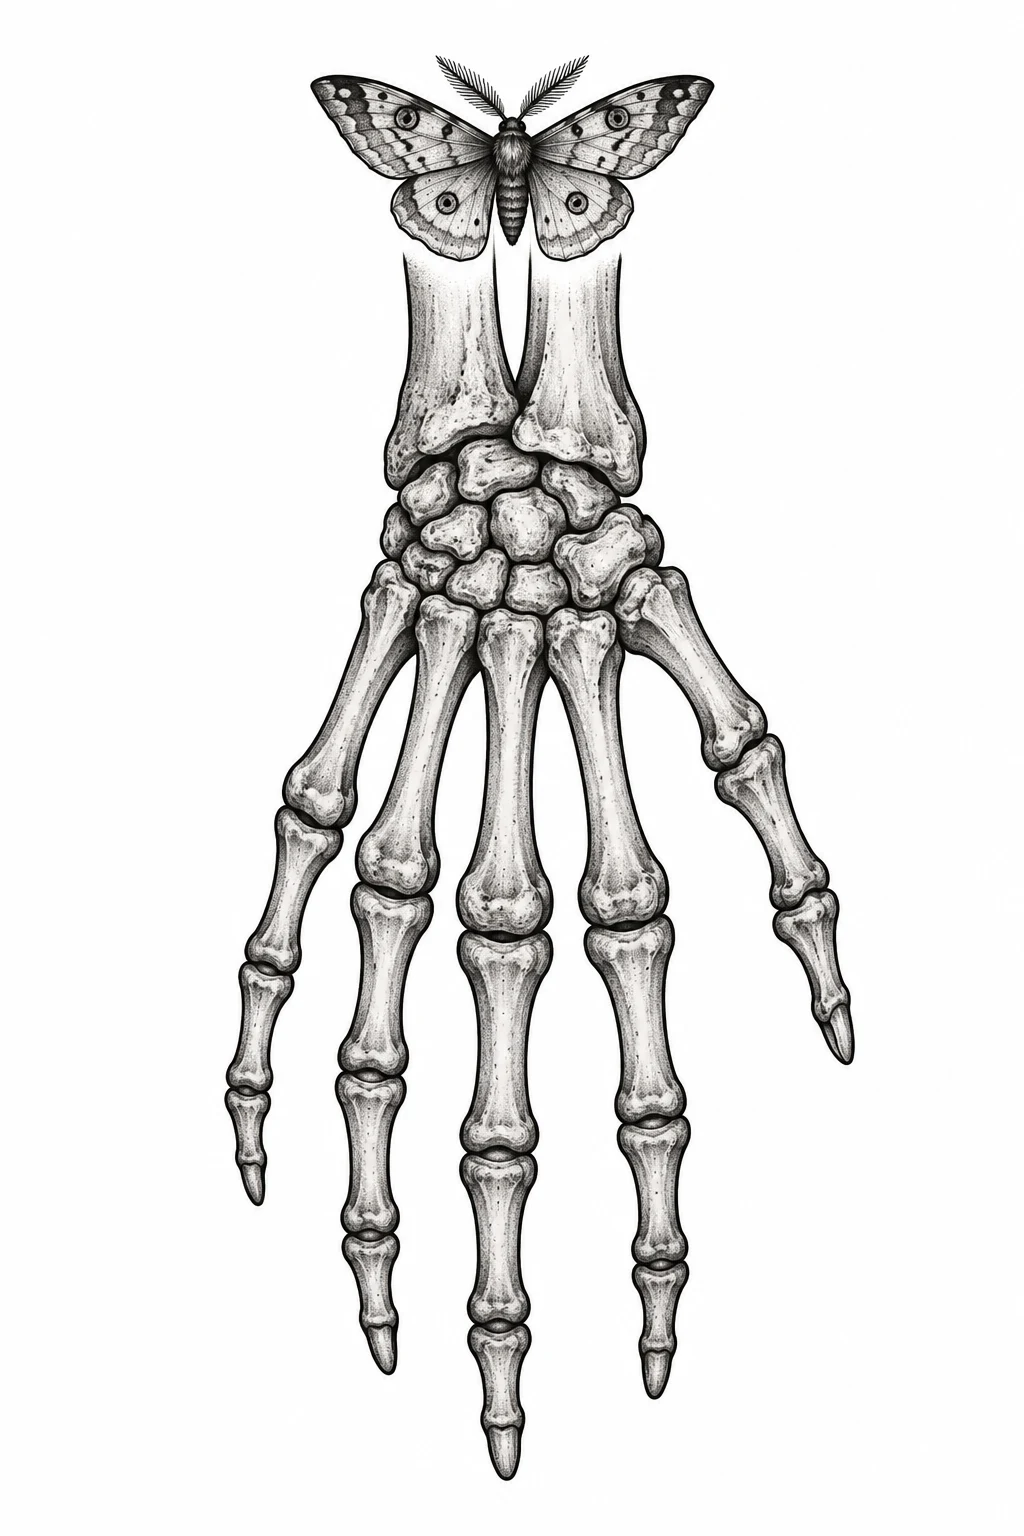
12. Skeleton Hand Tattoo with a Moth
With its wings spread above the wrist bones, the moth creates a broad shape beneath the narrower finger segments. You can keep its wings plain or use a few bold markings that echo the bone contours. Leave enough open skin around the moth to separate its outline from the skeletal pattern. Any meaning attached to the combination can stay personal.
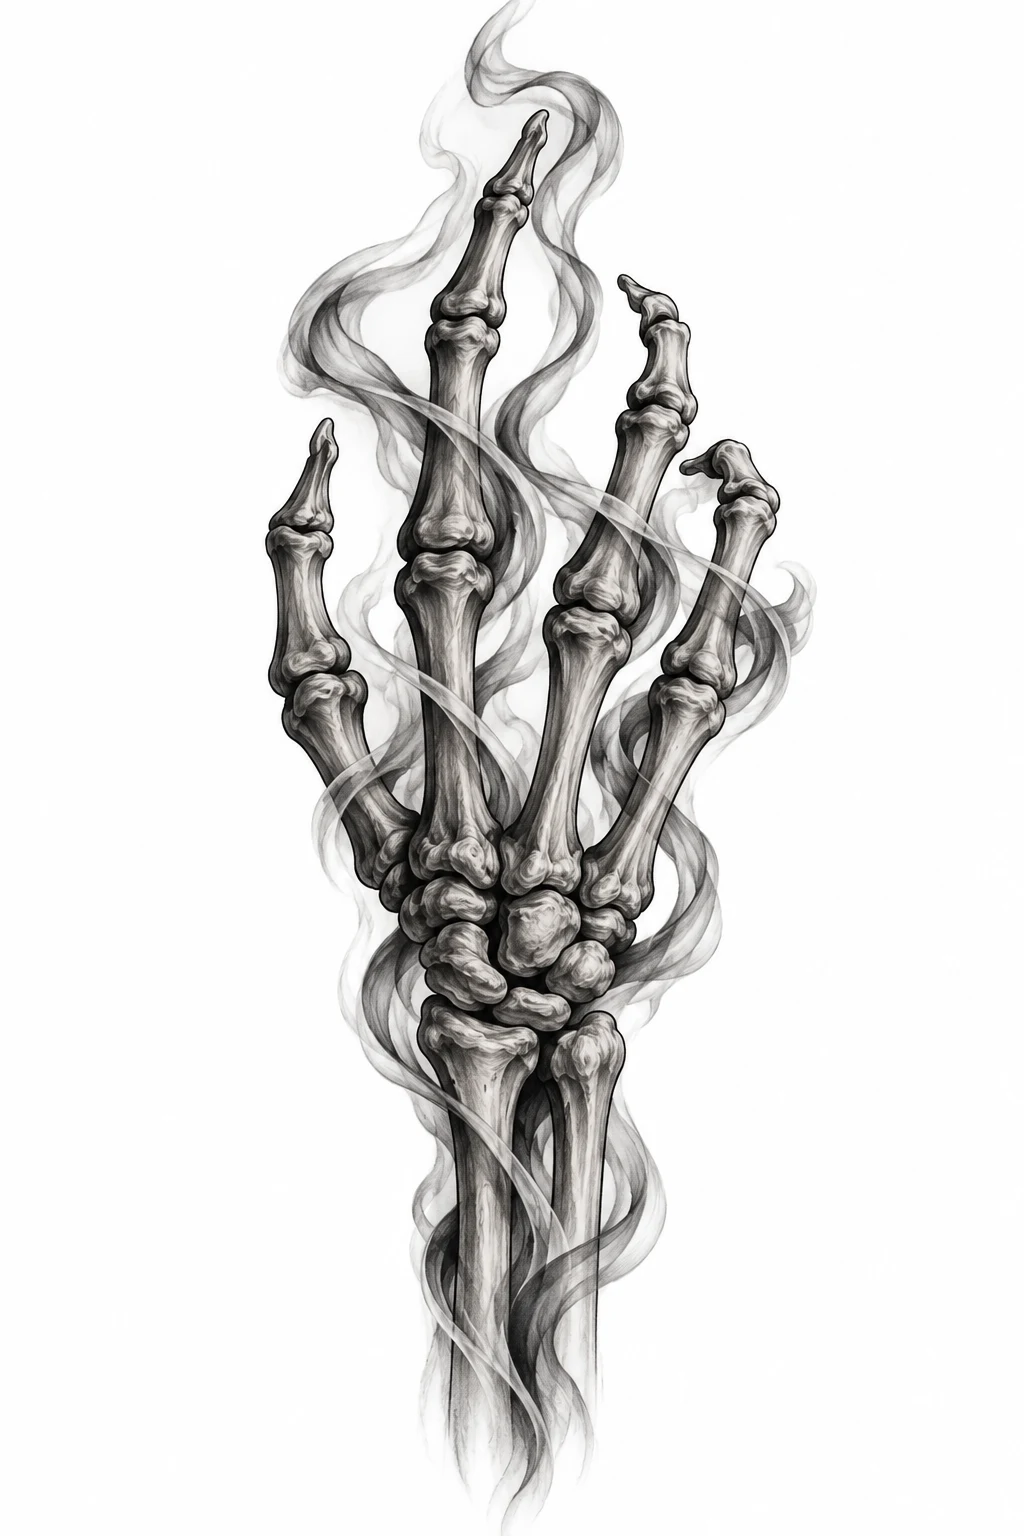
13. Skeleton Bones with Smoke
Loose smoke ribbons pass between the bones, adding curved movement to a segmented design. The bones can stay sharply outlined while the smoke uses softer grey edges. Pick a few clear paths for those ribbons rather than filling every gap. That contrast gives the smoke a role without hiding the main shapes.
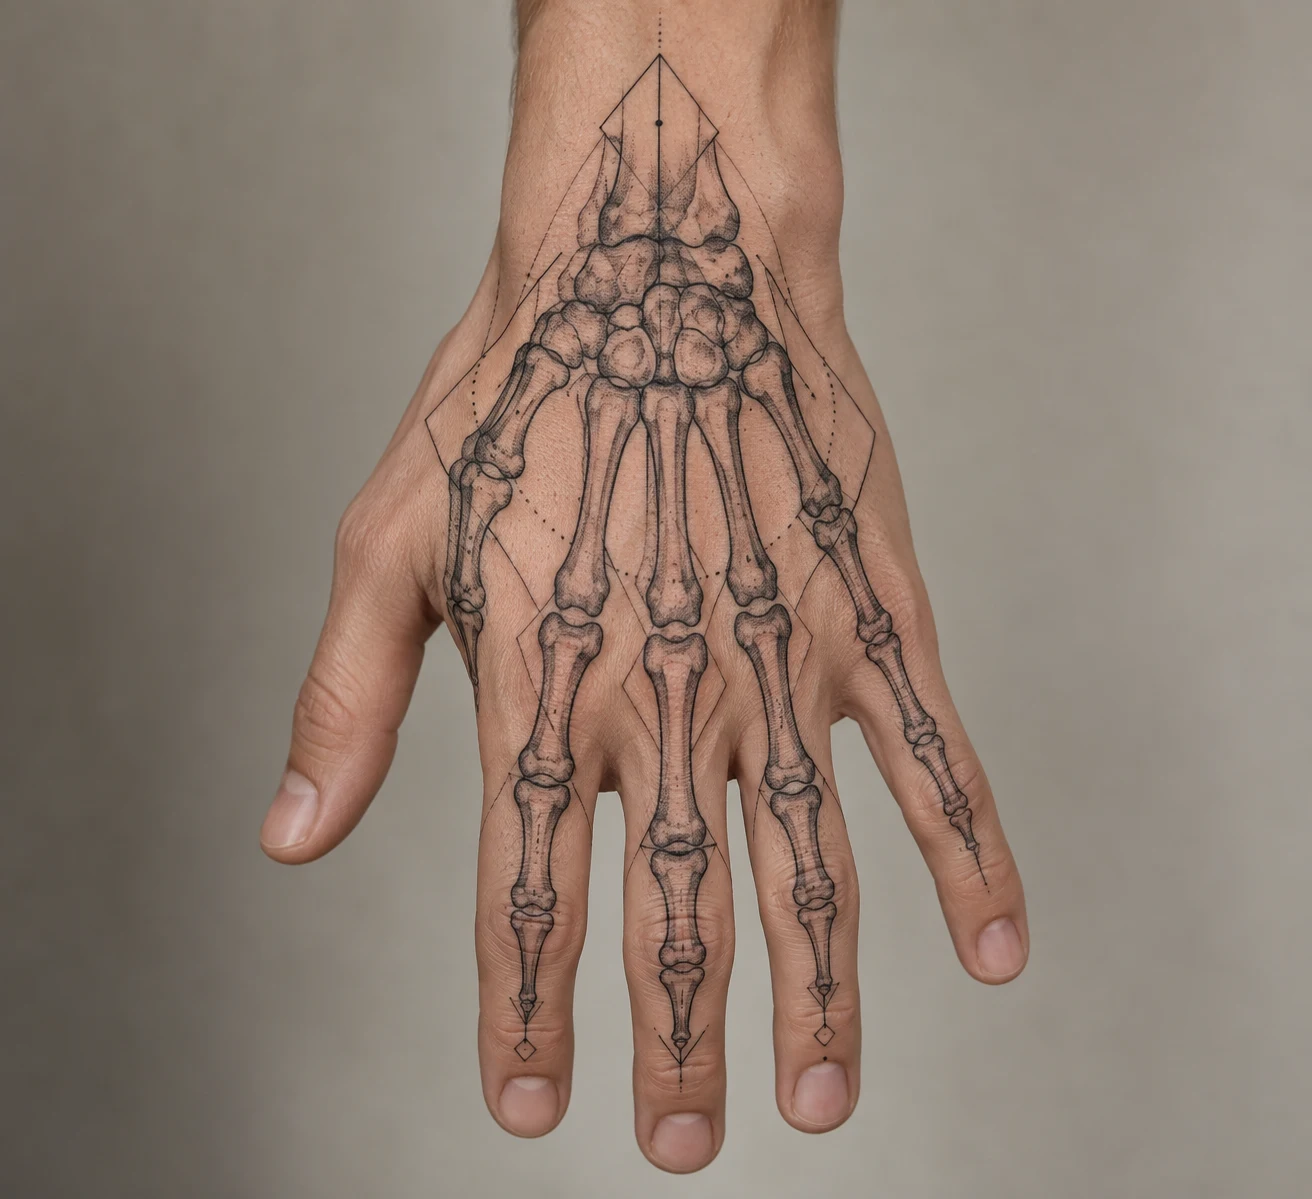
14. Geometric Skeleton Hand Tattoo
Thin diamond frames sit around the central bones, bringing straight edges into the layout. One large frame makes a clear backdrop; several smaller shapes create a more intricate pattern. Sketch the frame and bones together so intersections feel deliberate. Keep the finger sections simpler if the center already contains plenty of detail.
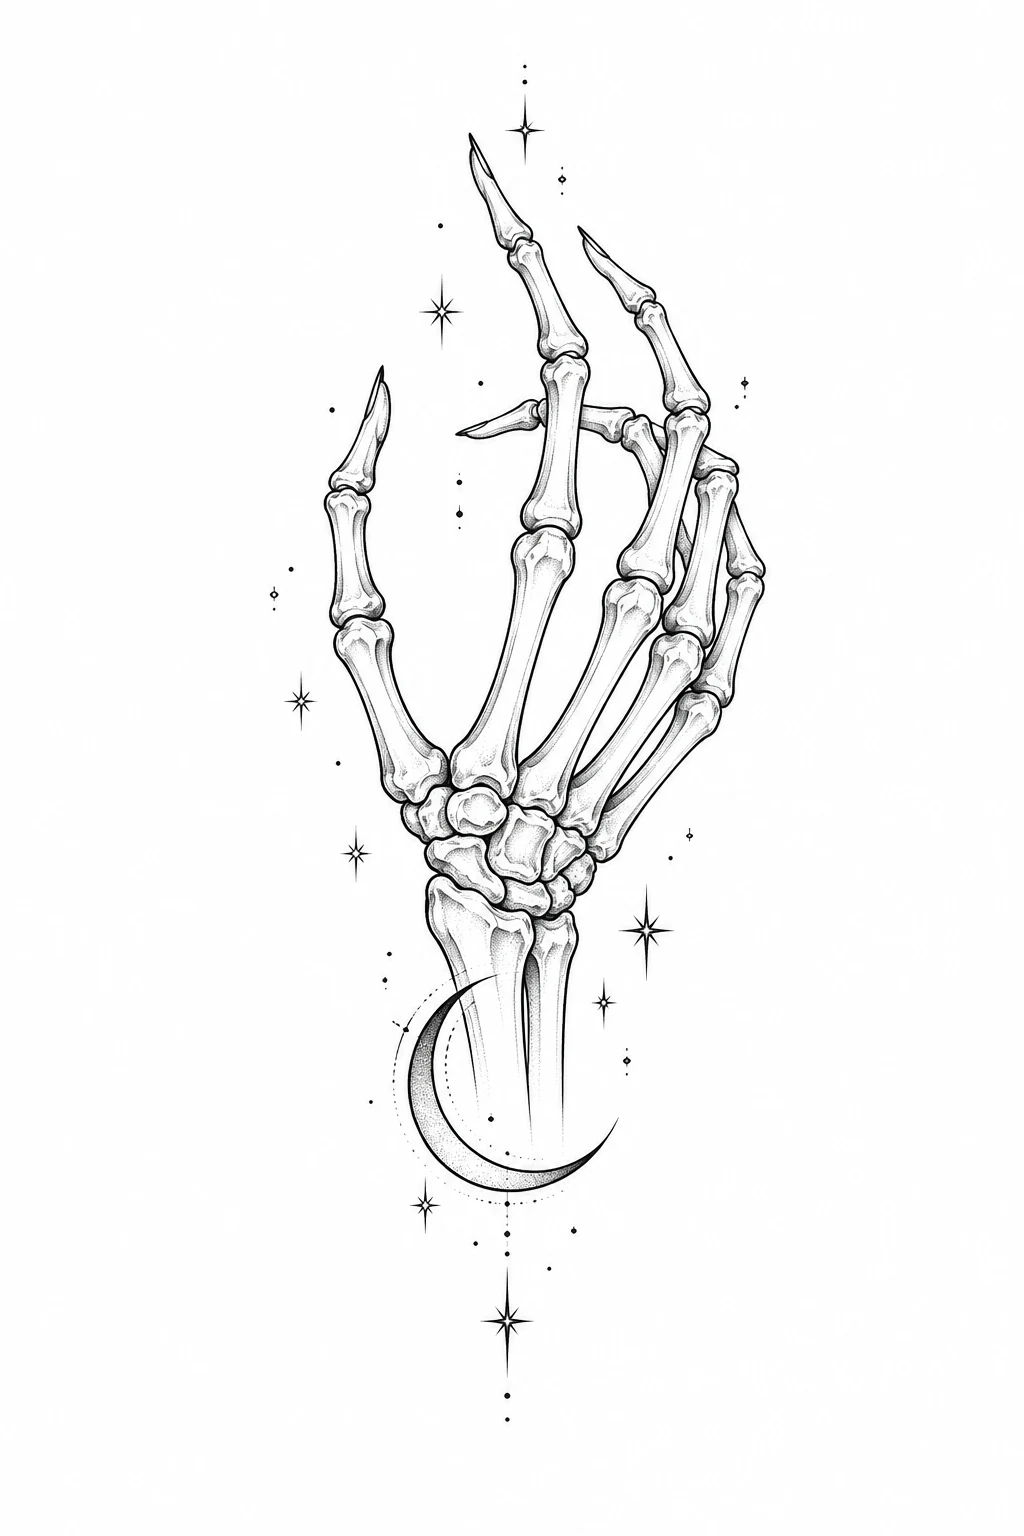
15. Skeleton Bones with a Crescent Moon
A crescent near the wrist anchors this design, with a few small stars placed in the open spaces beside the bones. The accents work as separate shapes instead of a continuous frame. Choose which element you want to notice first, then size the moon accordingly. Sparse stars leave more room for the skeletal outline to show.
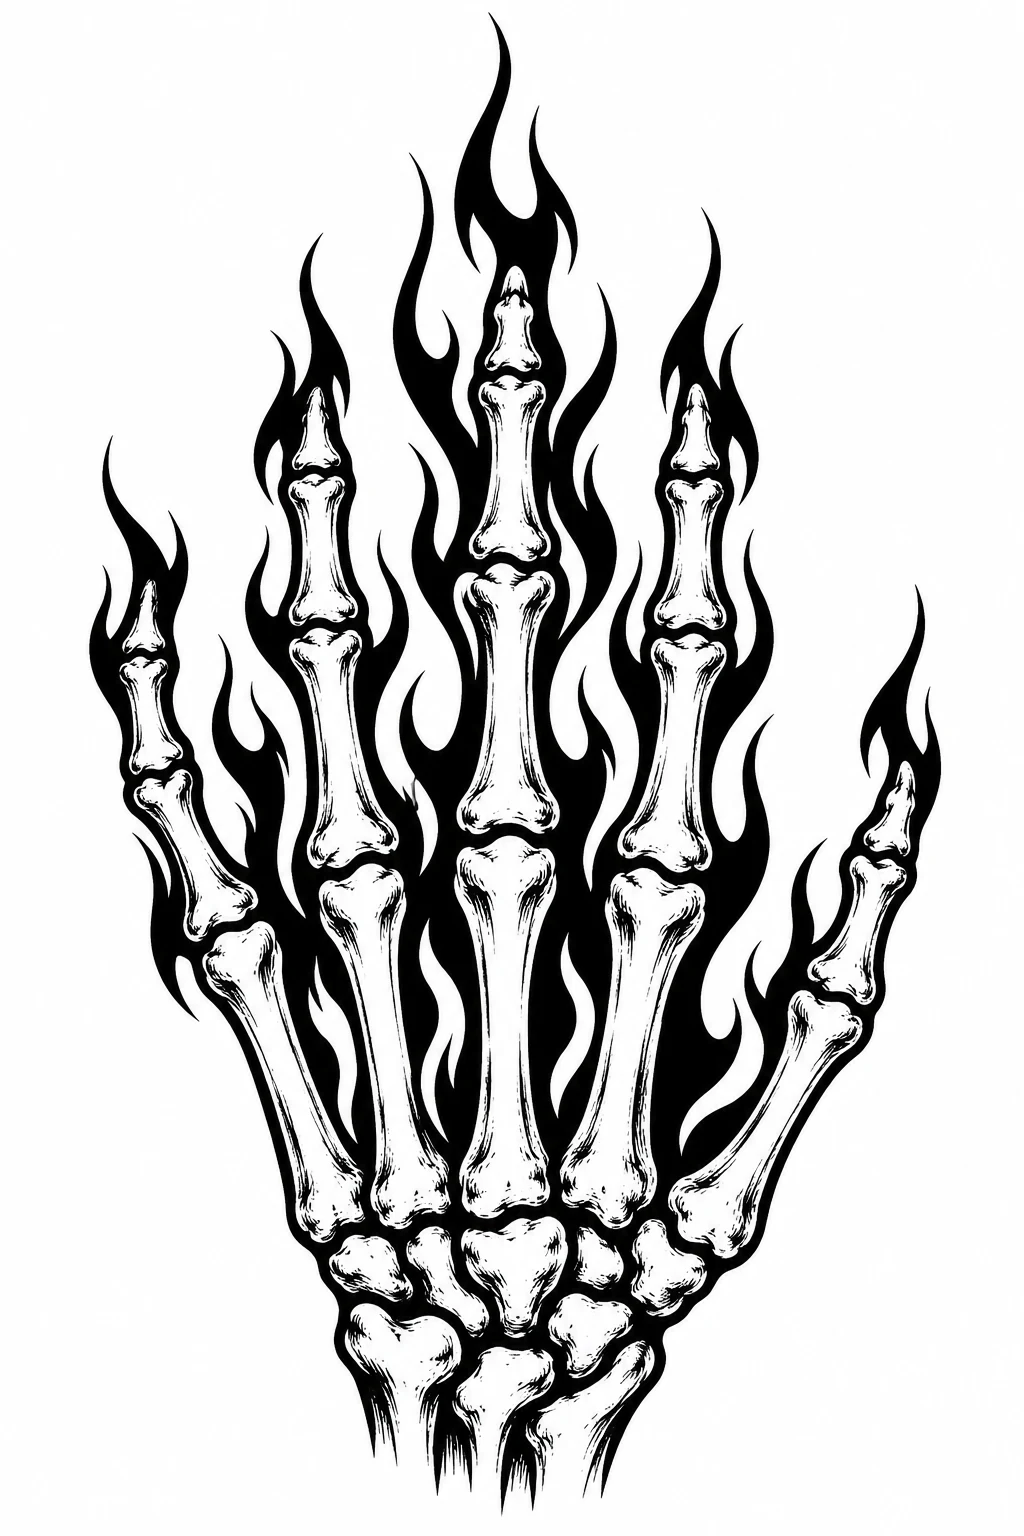
16. Skeleton Hand Tattoo with Flames
Pointed flames rise through the spaces between the fingers, creating a different outline from the rounded bones. Black flame contours can stay open inside or use selected solid areas. Try a version with flames only near the wrist before extending them farther. Their height and direction change the composition more than adding extra small details.
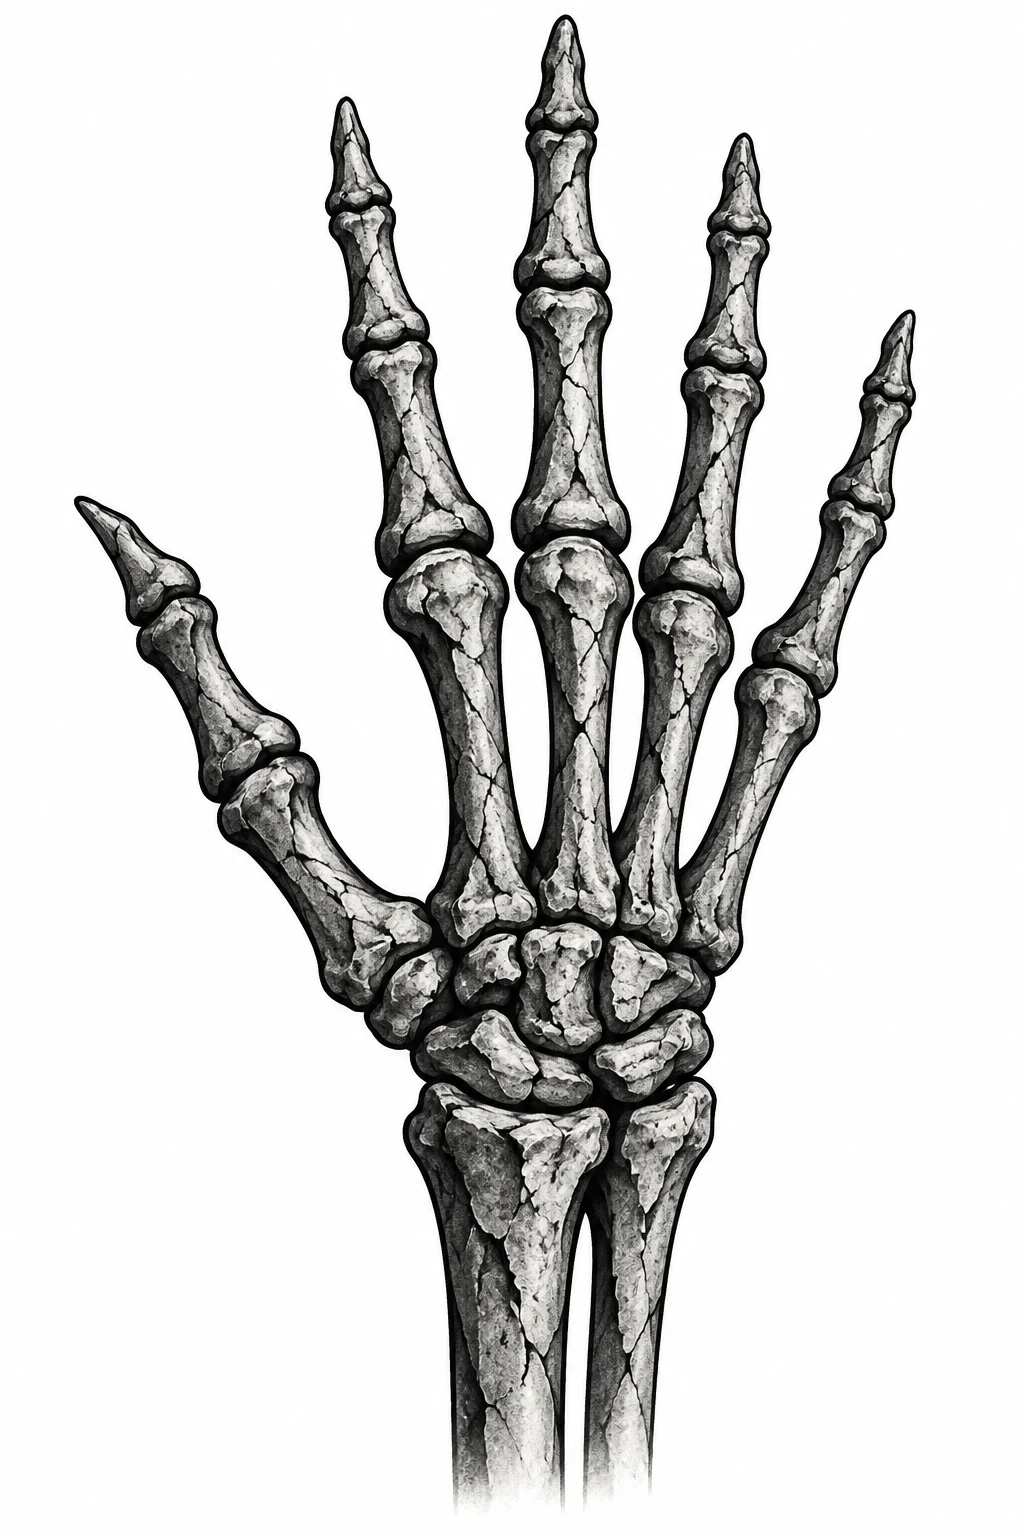
17. Cracked-Stone Skeleton Bones
Fine cracks and angular shaded patches give the bones a carved-stone appearance. The texture belongs inside the shapes, so it reads as a surface treatment rather than damage to the hand. Keep some areas smooth to avoid a uniformly busy pattern. A few larger cracks can be easier to distinguish in the drawing than dozens of tiny ones.
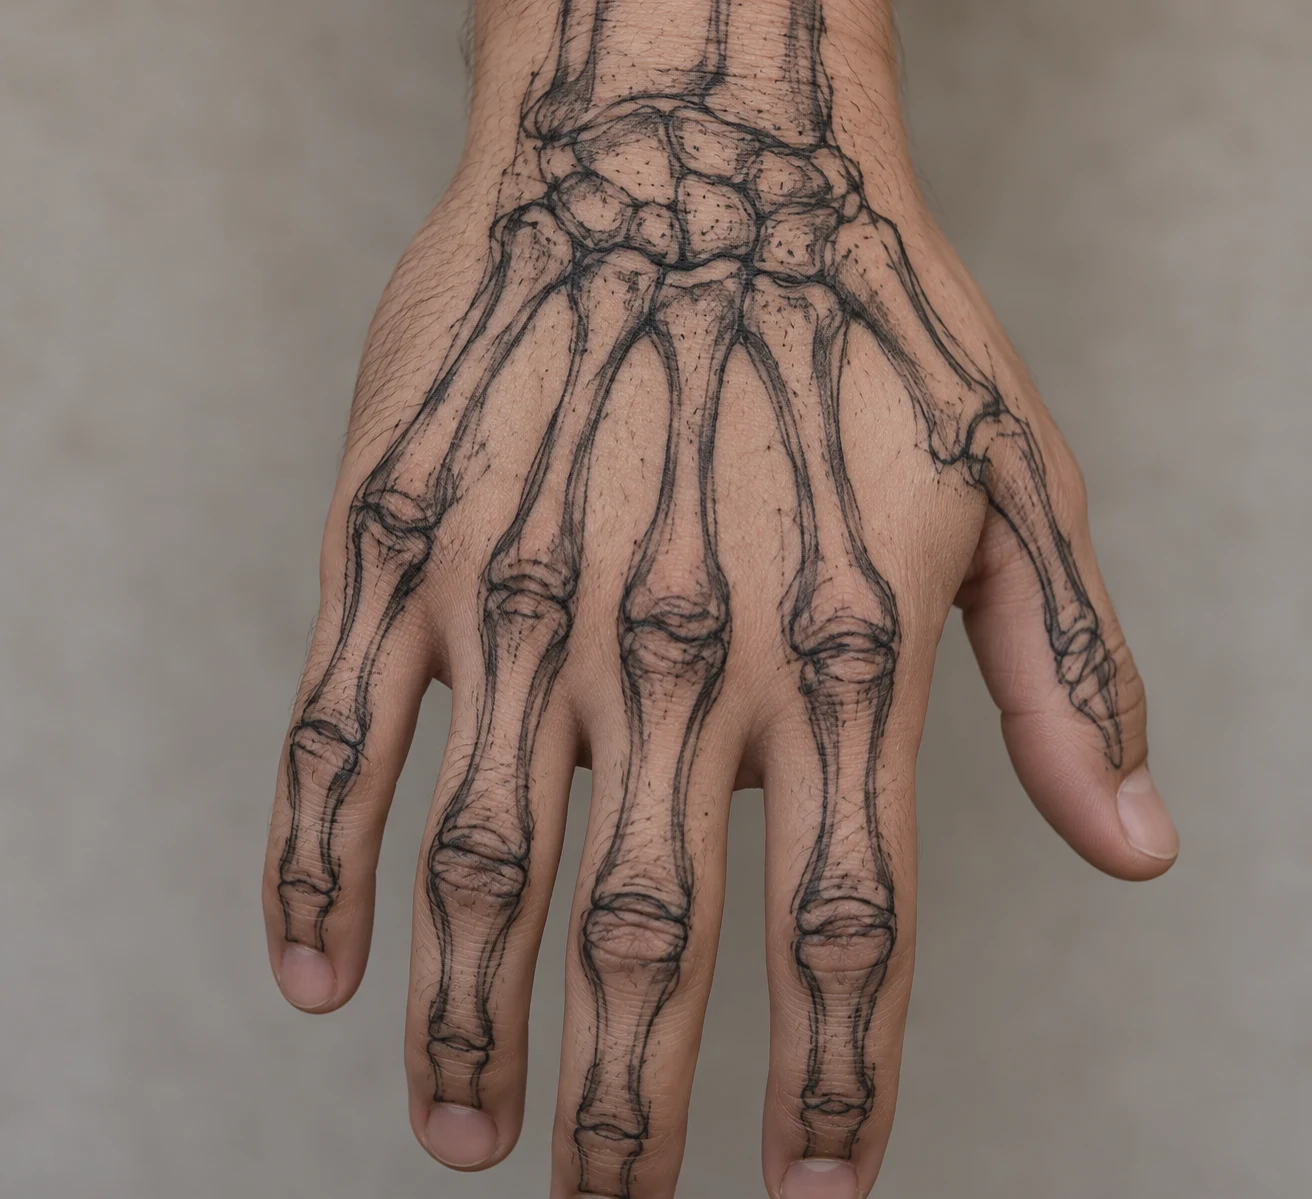
18. Sketch-Style Skeleton Hand Tattoo
Loose doubled contours make the bones look like a pencil study translated into ink. Selected construction-like strokes can sit beside a finished outline, but each bone still needs a recognizable shape. Choose a few places for that unfinished effect rather than repeating it everywhere. This approach is about drawn line character, not precise anatomical rendering.
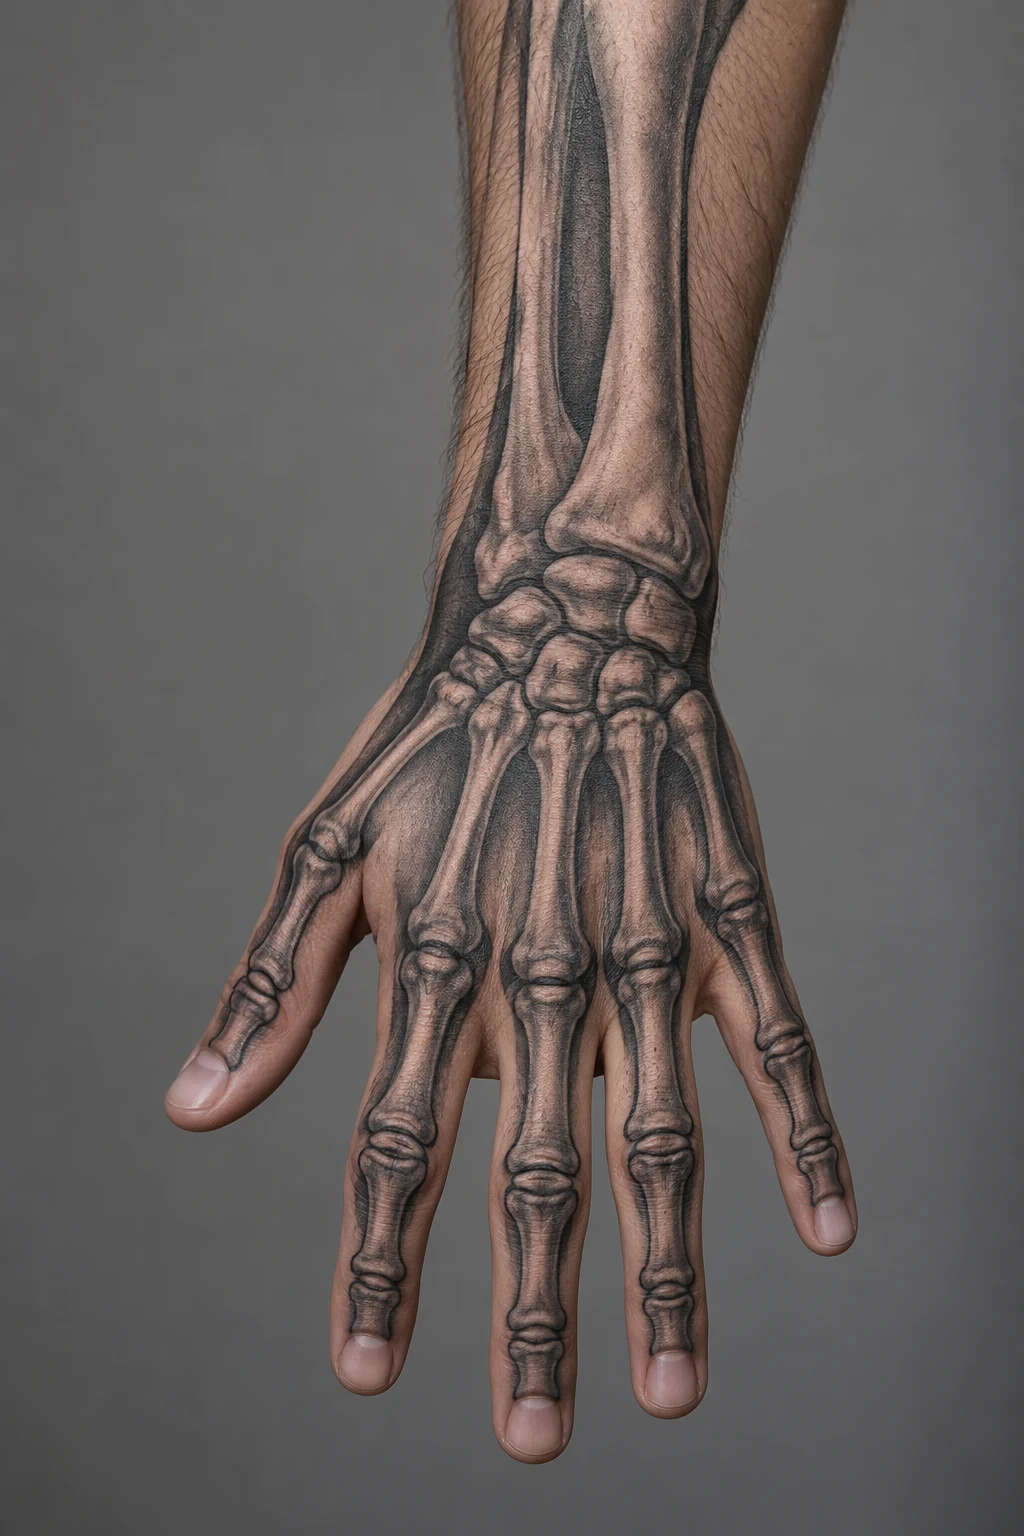
19. Skeleton Hand Tattoo Extending onto the Wrist
The skeletal arrangement continues beyond the hand into a short wrist extension. That extra area changes the overall silhouette and gives the design a longer vertical flow. Compare a soft taper with a defined stopping point on the lower forearm. Have your artist plan the transition as part of one composition rather than adding an unrelated wrist motif.
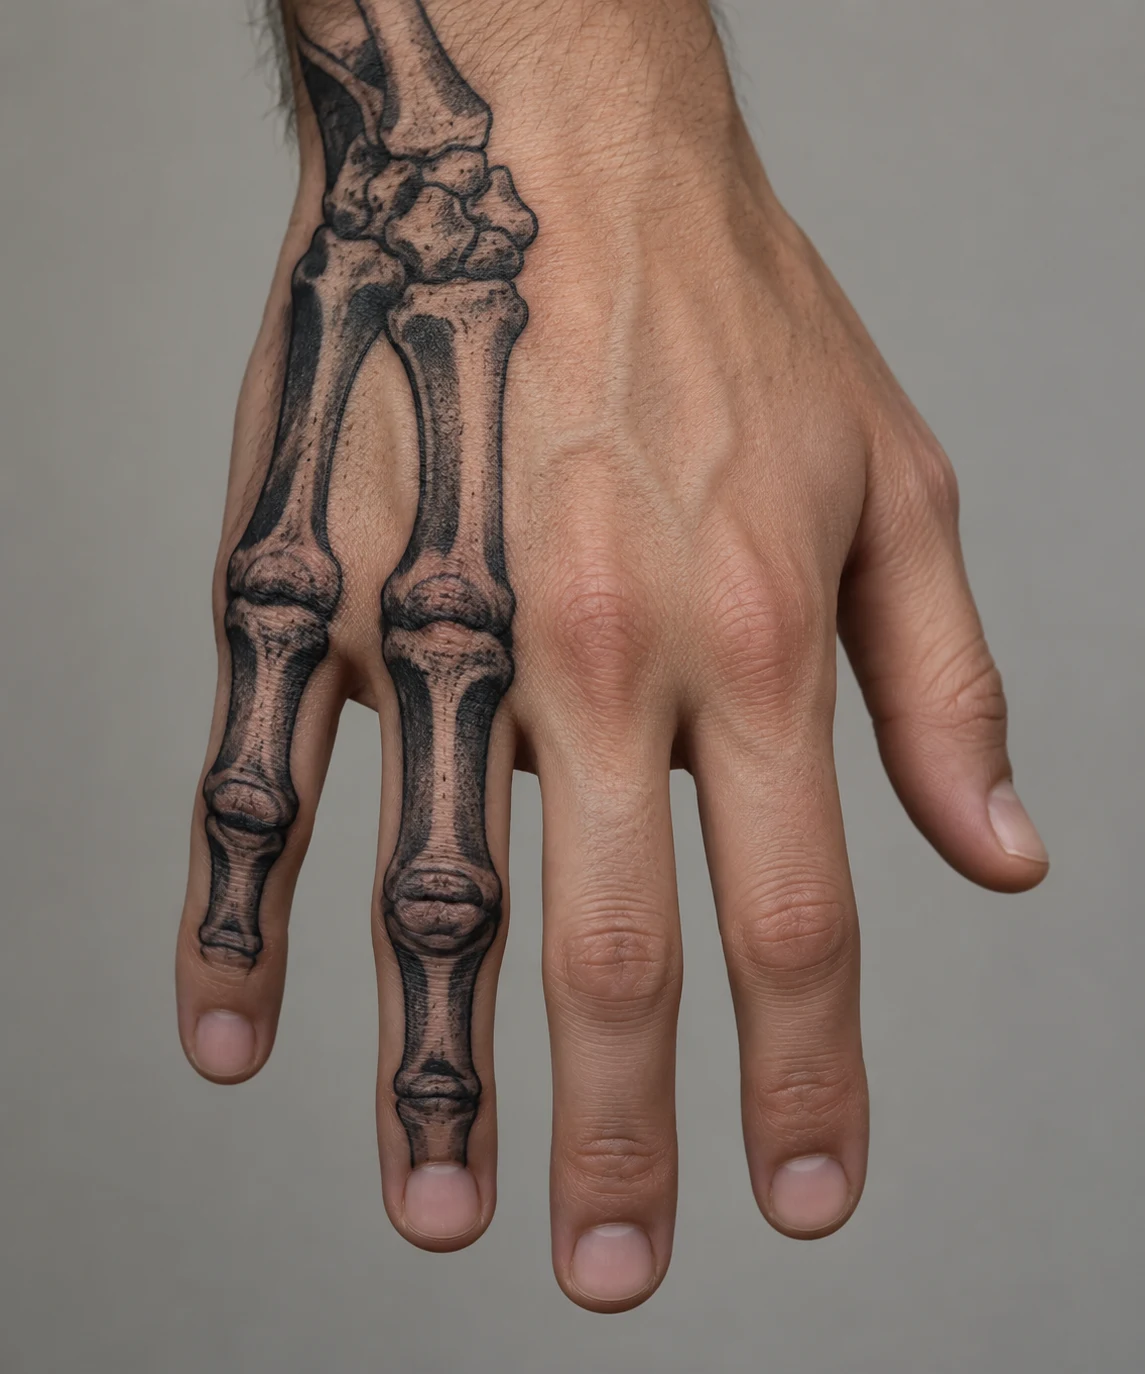
20. Half-Hand Skeleton Tattoo
Two adjacent fingers and one side of the central hand carry the bones, leaving a broad area of skin open beside them. This differs from finger-only accents because the partial arrangement also reaches into the hand. Decide which side should carry the design and how the lower edge ends. An irregular edge following the bones creates a different balance from a straight dividing line.
Save the designs that catch your eye and note the details you want to keep: line weight, texture, coverage or a particular accent. Bring those references to a qualified tattoo artist to discuss a composition for your hand. These images are design concepts, not examples of finished client work.

