
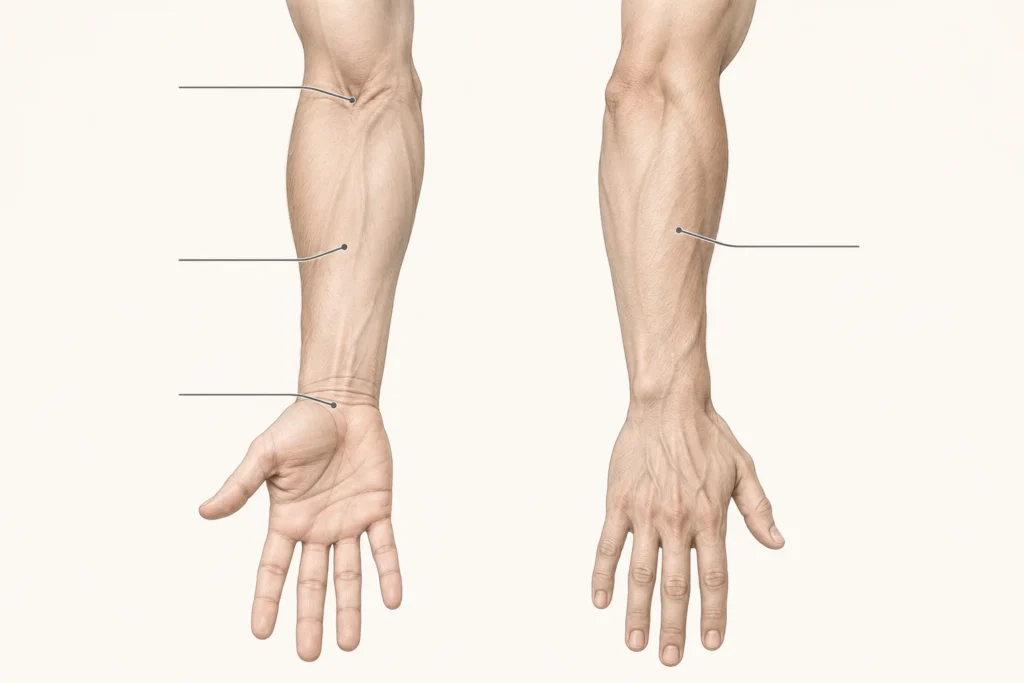
Forearm tattoo pain varies from person to person, so a placement chart can’t predict exactly how your session will feel. The exact area, the work involved and your individual sensitivity all matter. Start by identifying where the design will sit and discussing how the artist plans to complete it.
Forearm tattoo pain at a glance
Expect discomfort during a forearm tattoo, but avoid treating any fixed pain score as a promise. A number can’t tell you how a particular design, placement or session will feel for you.
“Forearm” also covers several areas. Use this table to make your placement discussion more specific:
| Area | Placement detail to clarify | Useful question for your artist |
|---|---|---|
| Inner forearm | The side facing upward when your palm faces up | Where will the main outline and filled areas sit? |
| Outer forearm | The opposite side, toward the back of the hand | Does the design stay on this surface or wrap around? |
| Wrist end | The lower forearm approaching the hand | How close does the design come to the wrist crease? |
| Elbow end | The upper forearm approaching the elbow | Does the design reach the elbow crease or extend onto the elbow? |
Pain during tattooing and discomfort afterward are separate concerns. Before the appointment, discuss the session plan. Afterward, follow the aftercare instructions and seek medical advice if you’re concerned about pain or healing.
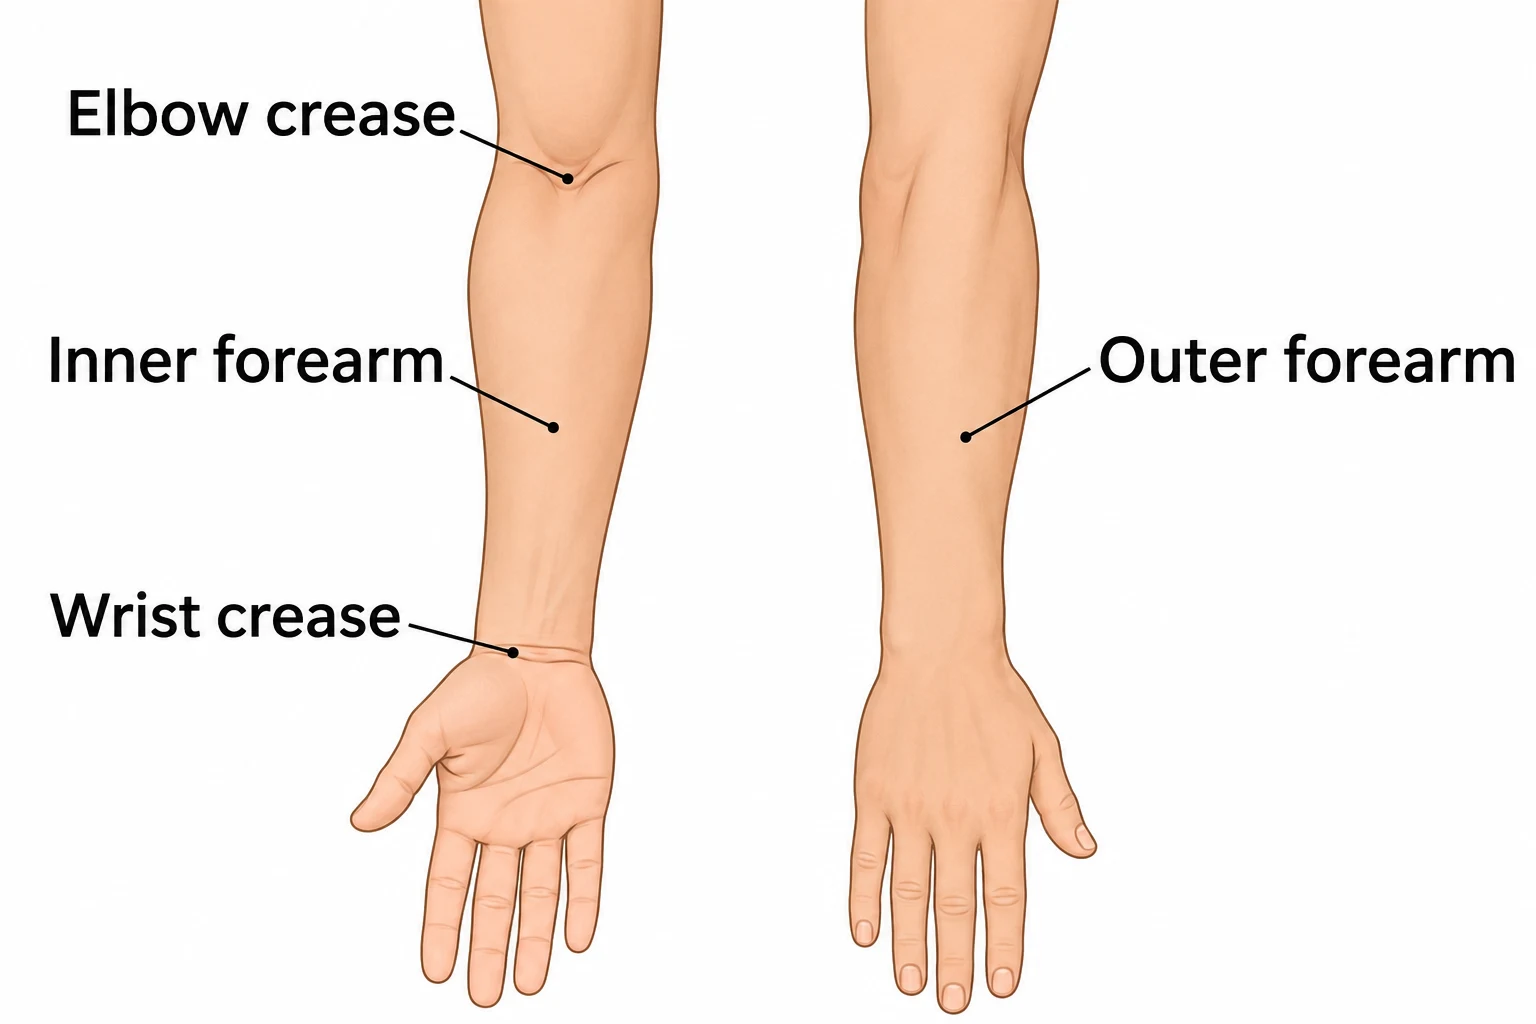
Inner forearm, outer forearm, wrist and elbow
To locate your inner forearm, hold your arm with your palm facing up. The surface you can see is the inner side; the opposite surface is the outer side. The wrist and elbow mark the ends of this region, but a design can cross those boundaries.
Anecdotal comparisons may describe one side as easier than the other. They can’t reliably establish which side will hurt more for you. Someone else’s account can help you frame questions, but it shouldn’t determine your placement by itself.
For a wrist-adjacent tattoo, ask the artist to show exactly where the lowest edge will sit. If your design approaches the elbow, clarify whether it stays below the joint, reaches the crease or extends farther. Those are different layouts, even when each is casually described as a forearm tattoo.
A wraparound piece needs the same attention. Ask to see the full route around your arm, including where outlines, shading and filled sections will fall.
The illustration below is an orientation aid, not a pain map.
How the design and session affect discomfort
Placement is only part of the discussion. The amount of tattooing matters when planning what you’re comfortable committing to.
A small outline and a large, densely filled design involve different amounts of work. Size alone isn’t enough to compare them: detail, shading and solid areas also affect the artist’s plan. Ask which sections will require the most work and whether the artist expects to revisit particular areas during the session.
Avoid assuming that outlines always hurt more than shading, or that a fine line design guarantees an easy experience. These labels don’t describe every detail of the process or predict your response.
For a larger piece, discuss:
- The approximate appointment length, allowing for breaks.
- Which parts the artist plans to complete first.
- Whether several appointments would suit the design.
- How the plan could change if you need to stop early.
Splitting the work is a planning option to discuss, not a guarantee of less pain. The artist can explain what is practical for the piece. If you need help showing the intended layout, use the forearm tattoo drawing guide to prepare a clearer design conversation.
Preparing for your appointment
Ask for the studio’s preparation instructions before appointment day. Tell the artist that pain is a concern so you can discuss it before tattooing begins.
Keep your preparation focused on practical arrangements:
- Wear clothing that gives the artist comfortable access to the whole area.
- Confirm the planned session length and how breaks will work.
- Agree on a clear way to request a pause, especially if your arm needs to remain still.
- Ask what happens if you decide you can’t finish the planned work that day.
- Make sure you understand the aftercare instructions and whom to contact with questions.
If you’re considering a numbing product, raise it before the appointment rather than applying it without discussion. Ask the artist about their process; questions about whether a product is medically suitable for you belong with a qualified clinician. Don’t assume a product makes the session pain-free.
When to pause and when to seek medical advice
You can ask to pause or stop if discomfort becomes difficult to manage. Tell the artist promptly if you feel unwell or can’t comfortably maintain the required position. You don’t need to reach a particular pain score before speaking up.
An agreed signal makes that conversation easier. If you need a break, communicate before moving your arm so the artist can stop working.
After the appointment, don’t use a general pain chart to decide whether a healing concern needs attention. Follow your aftercare instructions, and seek medical advice if pain is worsening or you’re worried about how the area is healing. Your artist can clarify their instructions, but medical concerns need assessment by a qualified healthcare professional.
Choosing your forearm placement
Bring your artist a specific proposal: the design, its approximate size and the area you’re considering. Ask them to show its boundaries on your arm, particularly if it approaches the wrist, elbow or opposite side of the forearm.
Then explain your concern plainly: “I’m worried about managing the discomfort. What session plan would you suggest for this design?” That gives you a useful starting point for discussing breaks, appointment length and whether to divide the work.
If you’re still choosing a layout, explore the broader forearm tattoos guide for ideas to bring to the consultation. No pain score can promise your experience; the practical next step is to agree on the exact placement and a session plan you understand.

