
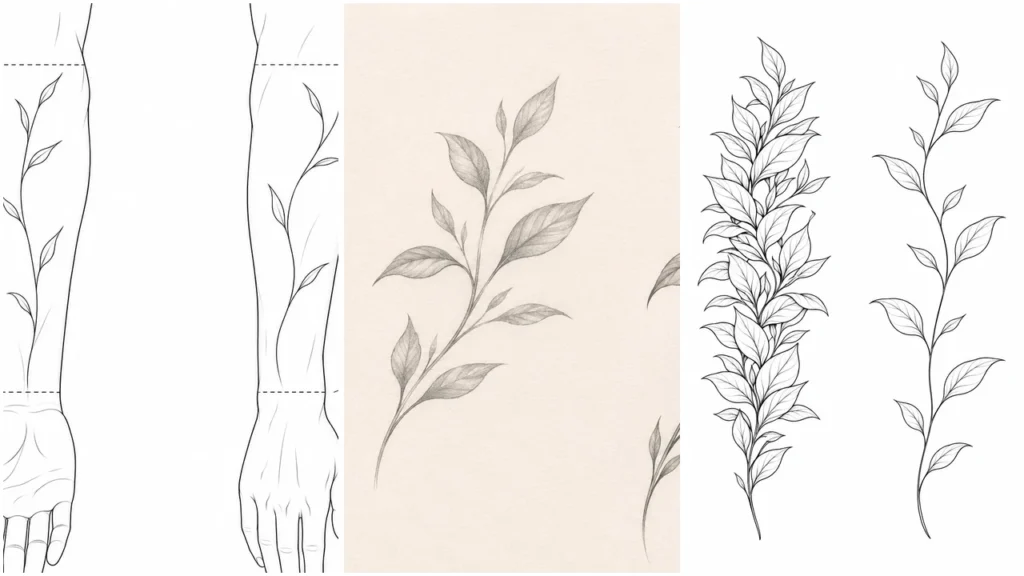
A forearm tattoo drawing helps you explore a design before committing to ink. Start with a clear subject, a rough size and an intended placement, then work with a tattoo artist to adapt the sketch to your arm. Whether you draw it yourself or collect references, the aim is to communicate your idea clearly.
You don’t need a polished illustration to begin. A rough outline with a few placement notes can give an artist useful direction, especially when you can explain which features matter most.
What kind of forearm tattoo drawing do you need?
Choose the type of drawing that matches your next step:
- An inspiration sketch explores the subject, overall shape and arrangement. Use it to decide what belongs in the design before refining individual details.
- A printable reference lets you see a drawing at a chosen size and discuss it with an artist. Check the print dimensions; an image that fills your screen may look quite different on your forearm.
- An artist-prepared stencil provides a guide for transferring the agreed design onto the skin. A downloaded outline is a reference to discuss, rather than something to assume is ready for tattooing.
For an original concept, concentrate on the composition. If you’re choosing an existing drawing, identify what appeals to you: the subject, the line style, the amount of shading or the way it fills the space. Those observations make the reference more useful than simply asking for something similar.
Plan the composition around your forearm
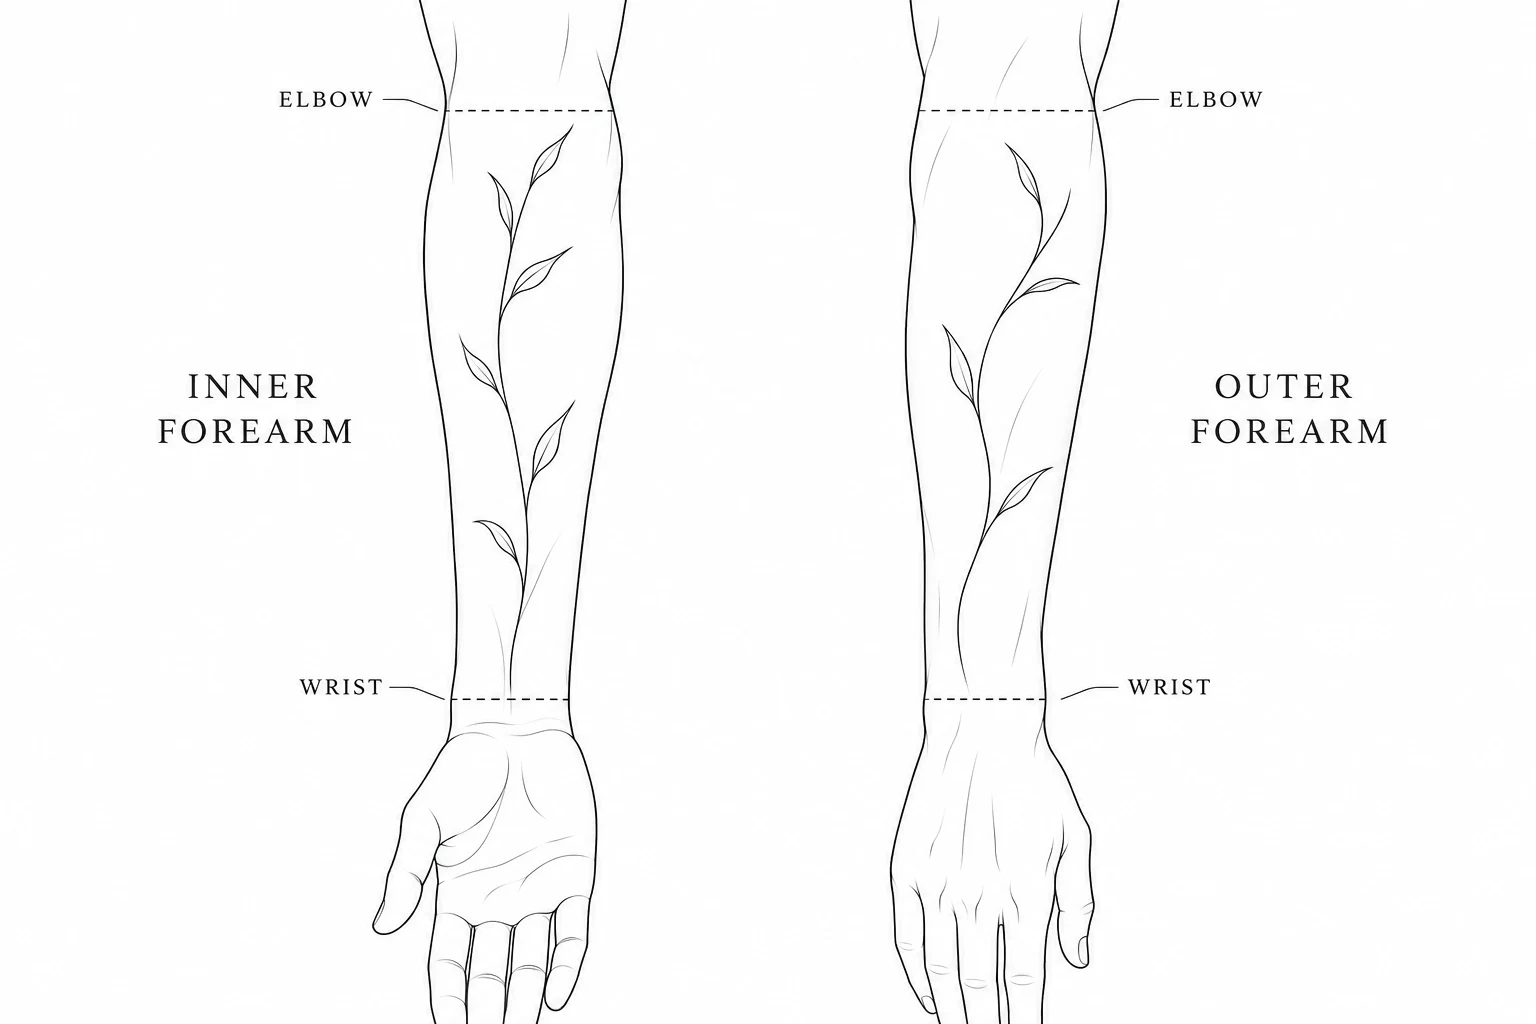
Decide where the drawing should begin and end. Mark approximate boundaries near the wrist and below the elbow, then sketch the space between them. Use your own measurements rather than relying entirely on a generic arm template.
For a leafy branch, you might place the narrow stem toward the wrist and spread the leaves farther up the arm. Try the reverse arrangement too. Compare how each version fits the available space before adding detail.
Inner and outer placement give you different surfaces to plan around. Hold your arm in a relaxed position and choose the side you want to see most clearly. Then rotate it: a design that extends around the forearm may become partly hidden from any single viewing angle.
Choose an orientation deliberately. For a face, animal or lettering, consider which way it should read when your arm rests naturally. Mark the wrist end on your drawing so the intended direction is clear.
The same branch can be arranged differently for inner or outer placement; these diagrams show possible boundaries.
Build a clear sketch from one main subject
Start with a one-sentence description: “A curved leafy branch with open space between the leaves.” This gives you a practical way to judge additions. If an extra flower, ribbon or symbol distracts from that idea, leave it out of the first version.
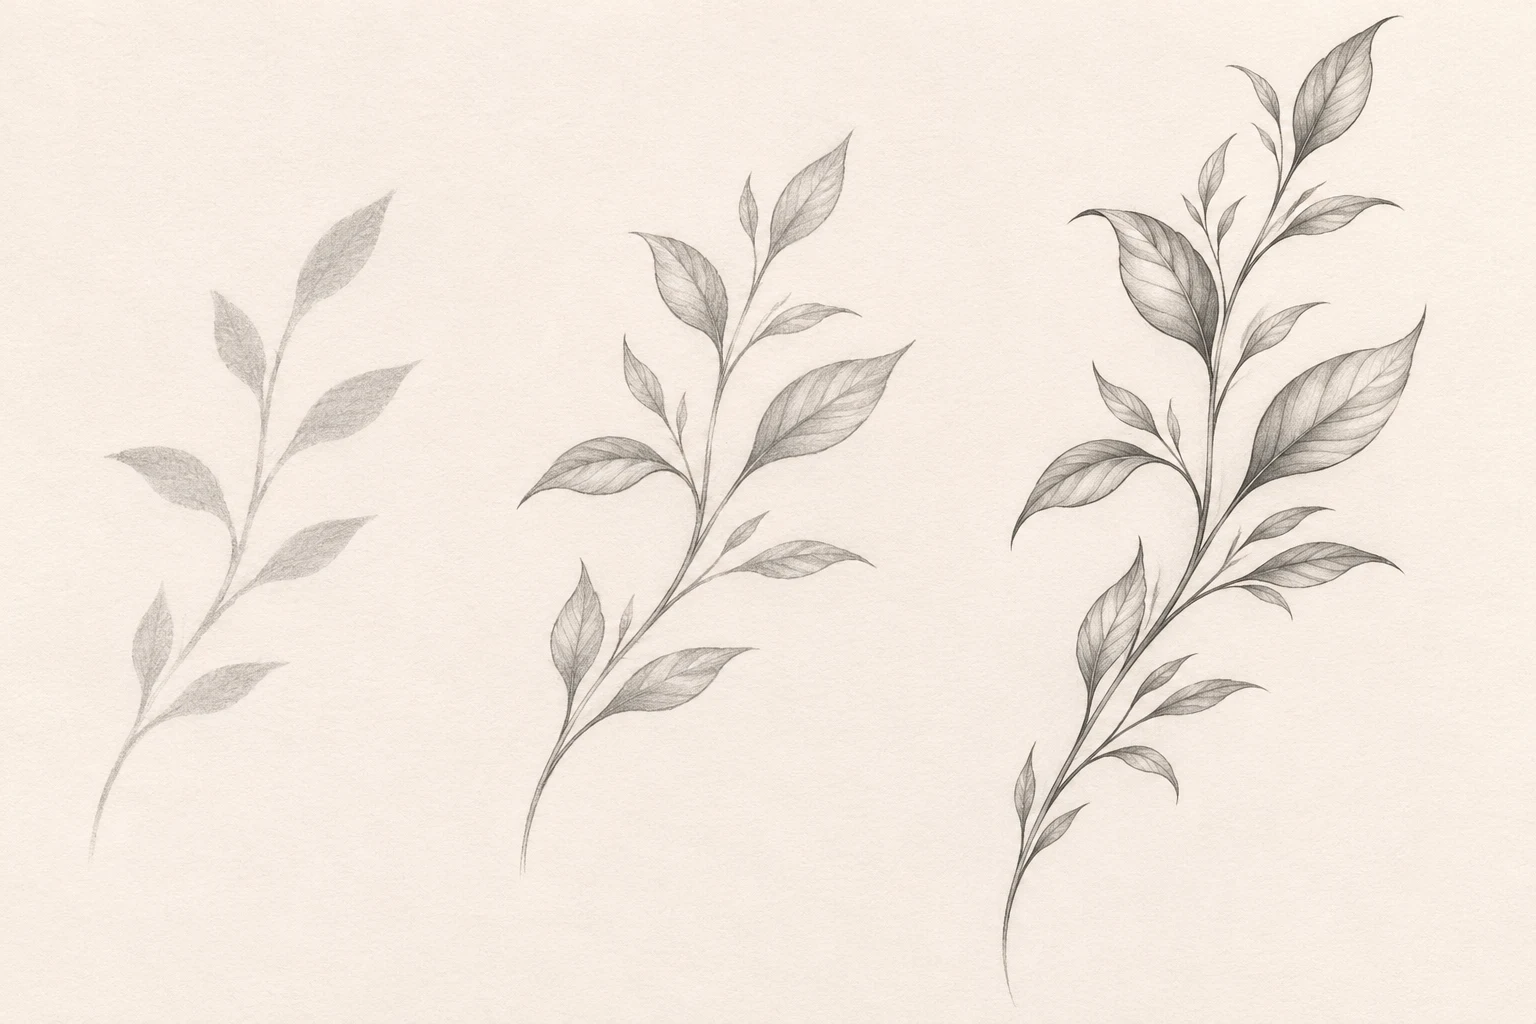
Build the drawing in four passes:
- Set the overall shape. Draw a light boundary for the height and width, then add a curved line for the branch’s direction.
- Place the main forms. Use simple ovals or pointed shapes for the leaves. Work out their size and position before drawing veins or texture.
- Check the silhouette. Look at the outline as a whole. Adjust any cluster that feels too heavy or any gap that seems accidental.
- Add selective detail. Refine leaf edges and a few interior lines where they help express the style you want.
Keep earlier versions so you can compare them. A more detailed sketch is only useful if it communicates the idea more clearly.
When collecting references, give each one a purpose. One might show the leaf shape you like; another might demonstrate loose, sketch-like lines. Explain those choices to your artist and request an original composition instead of duplicating someone else’s custom tattoo.
Develop the branch’s shape first, then add only the details needed to communicate the design.
Check size, spacing and detail on a paper mockup
Print or trace the drawing at its intended dimensions. Write down its height and widest point, and check that your printer hasn’t automatically resized it to fit the page.
Hold the paper against the intended placement. You can cut around the outline to make the proportions easier to judge, although paper won’t follow every curve of your arm. Use this as a planning aid and leave the final fit assessment to your artist.
Look at the mockup with your arm relaxed, then turn your forearm. Check whether the main subject remains clear and whether any important feature disappears around the side. If the arrangement feels cramped, try a larger version or remove secondary details.
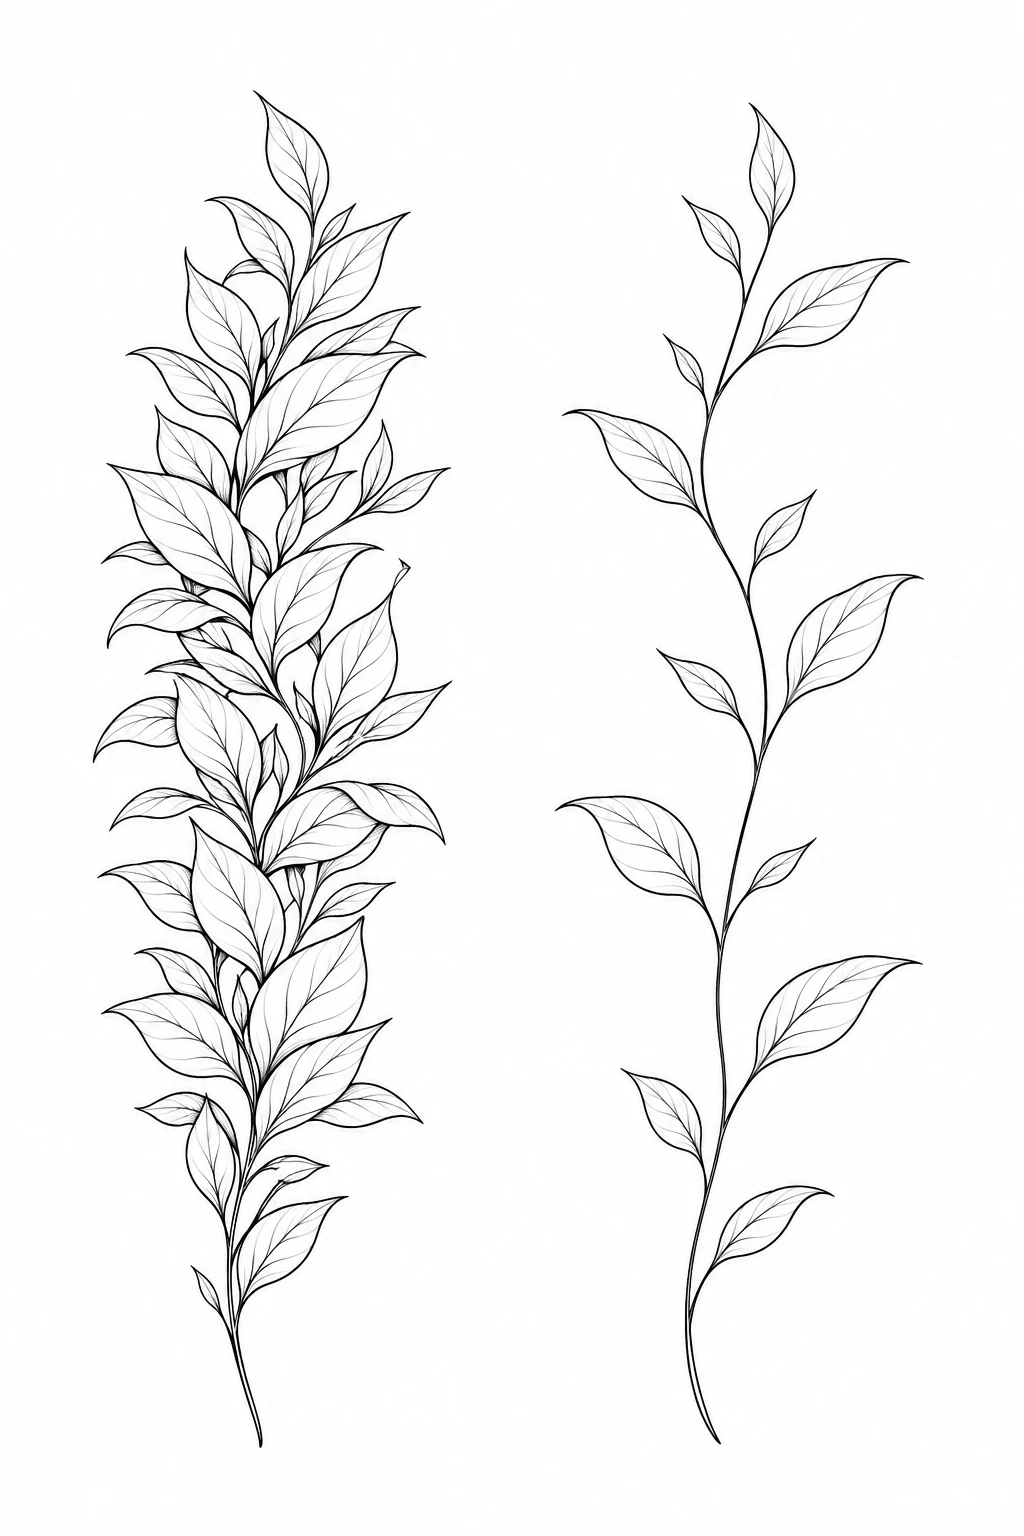
For the branch example, compare tightly packed leaves with a version that has fewer leaves and wider gaps. Decide which arrangement best expresses your idea. Ask the artist to assess suitable line spacing and detail at your chosen size; a paper check can’t establish how the finished tattoo will heal or age.
Compare the crowded and open versions at the same size before choosing which to develop.
Prepare a useful drawing brief for your tattoo artist
Bring one preferred sketch, with alternatives only where a decision remains open. Include:
- Approximate dimensions: height and width, with the wrist end marked.
- Placement: left or right forearm, inner or outer side, and proposed boundaries.
- Style references: a small selection with a note explaining what you like in each.
- Essential features: the subject, specific wording or other elements that carry your idea.
- Flexible features: details, spacing, orientation or shading you’re willing to change.
Ask the artist whether the composition suits the placement, whether the detail works at that size and what they recommend changing. Review any revised design for both its appearance and the features you wanted to preserve. Confirm lettering and orientation before approving it.
Your next step is one clear sketch, an approximate size and a short brief. If you’re still comparing broader styles and placements, explore the guide to forearm tattoos before refining the drawing further.

